vSphere: Importing a CentOS VM Exported as a VMDK from KVM
I was recently given a VMDK file which I was informed had been exported from a KVM system and needed to be used to create a VM in vSphere. Initially I thought this would be quite a straightforward task, but turned out to be a bit of an effort, so thought I would share it here since most of the info on the interwebs seems to be for moving VMs in the other direction.
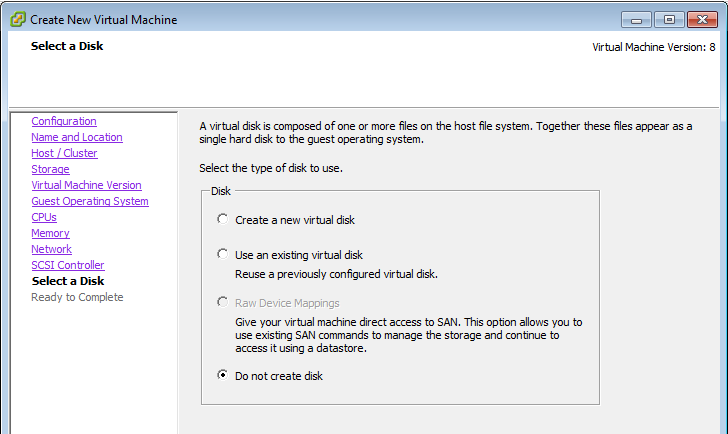
First of all I created a blank VM with no hard disk, ready to attach the VMDK to.
Attaching the supplied hard disk to the VM brought three different issues. I’m not sure if all of these are typical for VMs exported from KVM, but hopefully this information will help you if you experience any of them.
- The disk supplied was in 2gbsparse format. Consequently, there were issues taking snapshots and backing it up, so needed to be converted to an alternative format.
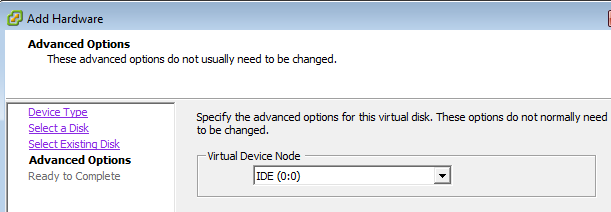
- When adding the disk to the VM it had been marked as an IDE disk, not SCSI.
- Post converting to the disk to SCSI the VM would no longer boot.
1) Convert the disk from 2gbsparse to thin
Use the ESXi command vmkfstools to convert the disk between the required format. Note that in ESXi 5.1 it is necessary to first load the multiextent module:
esxcli system module load -m multiextent
Having copied the vmdk file to the VM directory, make the conversion. (Since my volume was NFS I did not need to specify the format, thin, to convert to)
vmkfstools -i /vmfs/volumes/datastore01/VM01/supplied.vmdk /vmfs/volumes/datastore01/VM01/VM01.vmdk
2) Convert the disk from IDE to SCSI
At this point adding the newly thin VM01.vmdk disk to the VM resulted in an IDE based disk being offered, which of course could have performance issues.
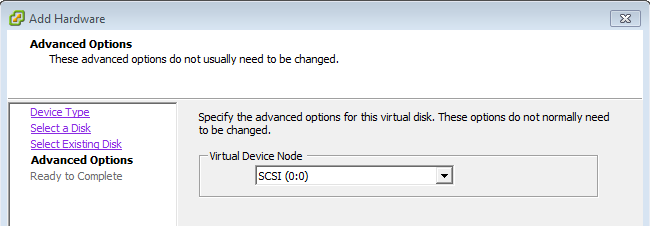
This VMware KB explains how to convert the IDE disk to SCSI. Essentially edit the VM01.vmdk file and change ddb.adapterType = “ide” to ddb.adapterType = “lsilogic” .
Now when adding the disk to the VM it’s a SCSI disk.
3) Post Converting to SCSI Disk - Getting the VM to Boot
Having made the previous change to a SCSI disk though, the VM would no longer boot. Sits on the below screen and gets no further.
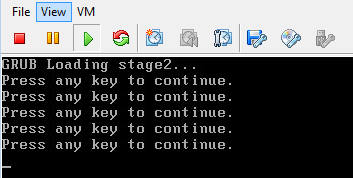
I couldn’t find the any key to fix this problem, so I hauled in some additional Linux expertise and worked through the following resolution.
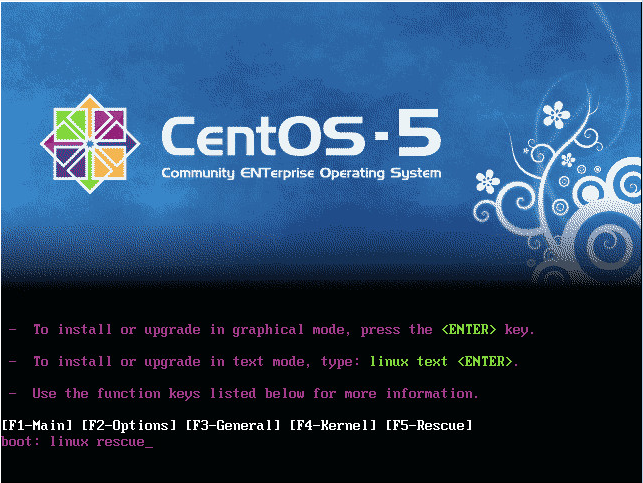
Boot off the Centos 5.9 (or other version) CDRom
At the Linux Boot Menu type : linux rescue
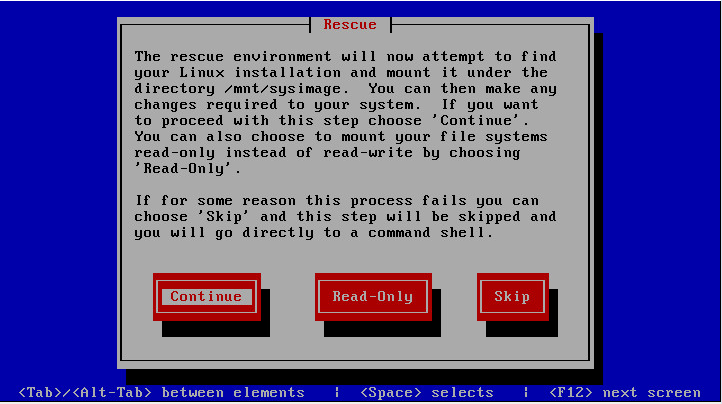
Take the defaults, remembering not to click Read-Only access to the disks.
Mount the hardware mapped file systems to the mount point of the rescue system :-
Enter the following commands
mount –o bind /dev /mnt/sysimage**/dev**
mount –o bind /sys /mnt/sysimage/sys
mount –o bind /proc /mnt/sysimage/proc
mount –o bind /selinux /mnt/sysimage/selinux
Chroot the environment to the rescued system
The final screen of the rescue boot showed the below:
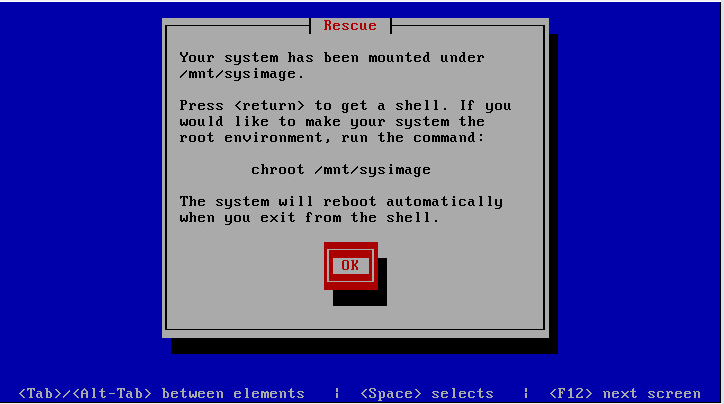
So enter the following command:
chroot /mnt/sysimage
Check you can see the disks if you can’t you need to exit and remap the hardware devices.
Enter the following command:
Ls /dev/sd* (looking for /dev/sda1 etc)

Reinstall Grub
Enter the following command:
grub-install /dev/sda
Rebuild the boot init
Enter the following commands, note your versions may be different:
rm /boot/initrd-2.6.18-348.el5.img
mkinitrd –force-scsi-probe –force-lvm-probe /boot/initrd-2.6.18-348.el5.img 2.6.18-348.el5
Optional: You may wish to update the kernel to finish off
yum remove kernel-2.6.18-348.el5
yum update kernel*
Then all you need to do is exit the chroot environment and reboot.
I expect there may be a better way to have approached this issue from the start. I’m not aware that VMware Converter will take VMs directly from KVM (?) and I didn’t have access to the KVM system anyway to try exporting via other means. Would be interested to hear your thoughts.