Setting up a Minecraft Spigot Server in Windows Azure
I needed to setup a Minecraft server so that one of my kids could play online against a friend who had moved to another continent and they wanted a few different ways to stay in touch. Since one half of the friendship doesn’t have Xbox Live, but both have the PC / Mac version I figured I could sort out a hosted server for them to play on. There are plenty of places around that will host one for you for a small fee, but since I had some monthly Windows Azure credits via my MSDN subscription I figured I’d have a go setting up my own one and see how that went.
Initially I looked at deploying a pre-packaged Minecraft server from the Azure Marketplace, but the first two attempts failed to deploy so I looked at other possible options.

Deploying an Ubuntu VM
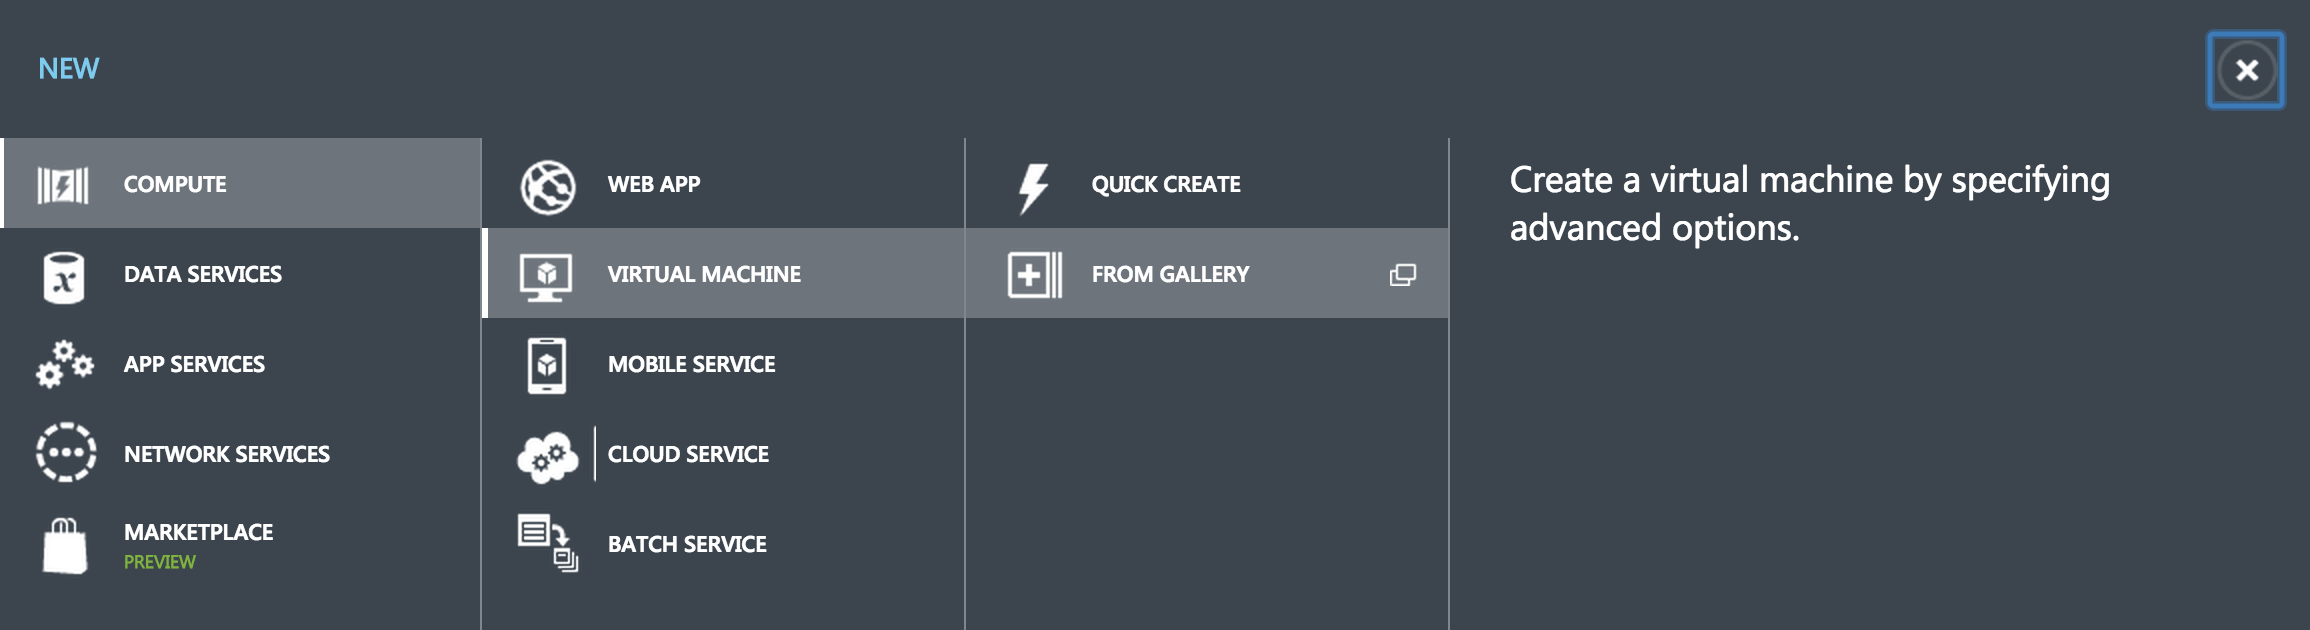
From the Azure portal I selected to deploy a new VM from the Gallery:
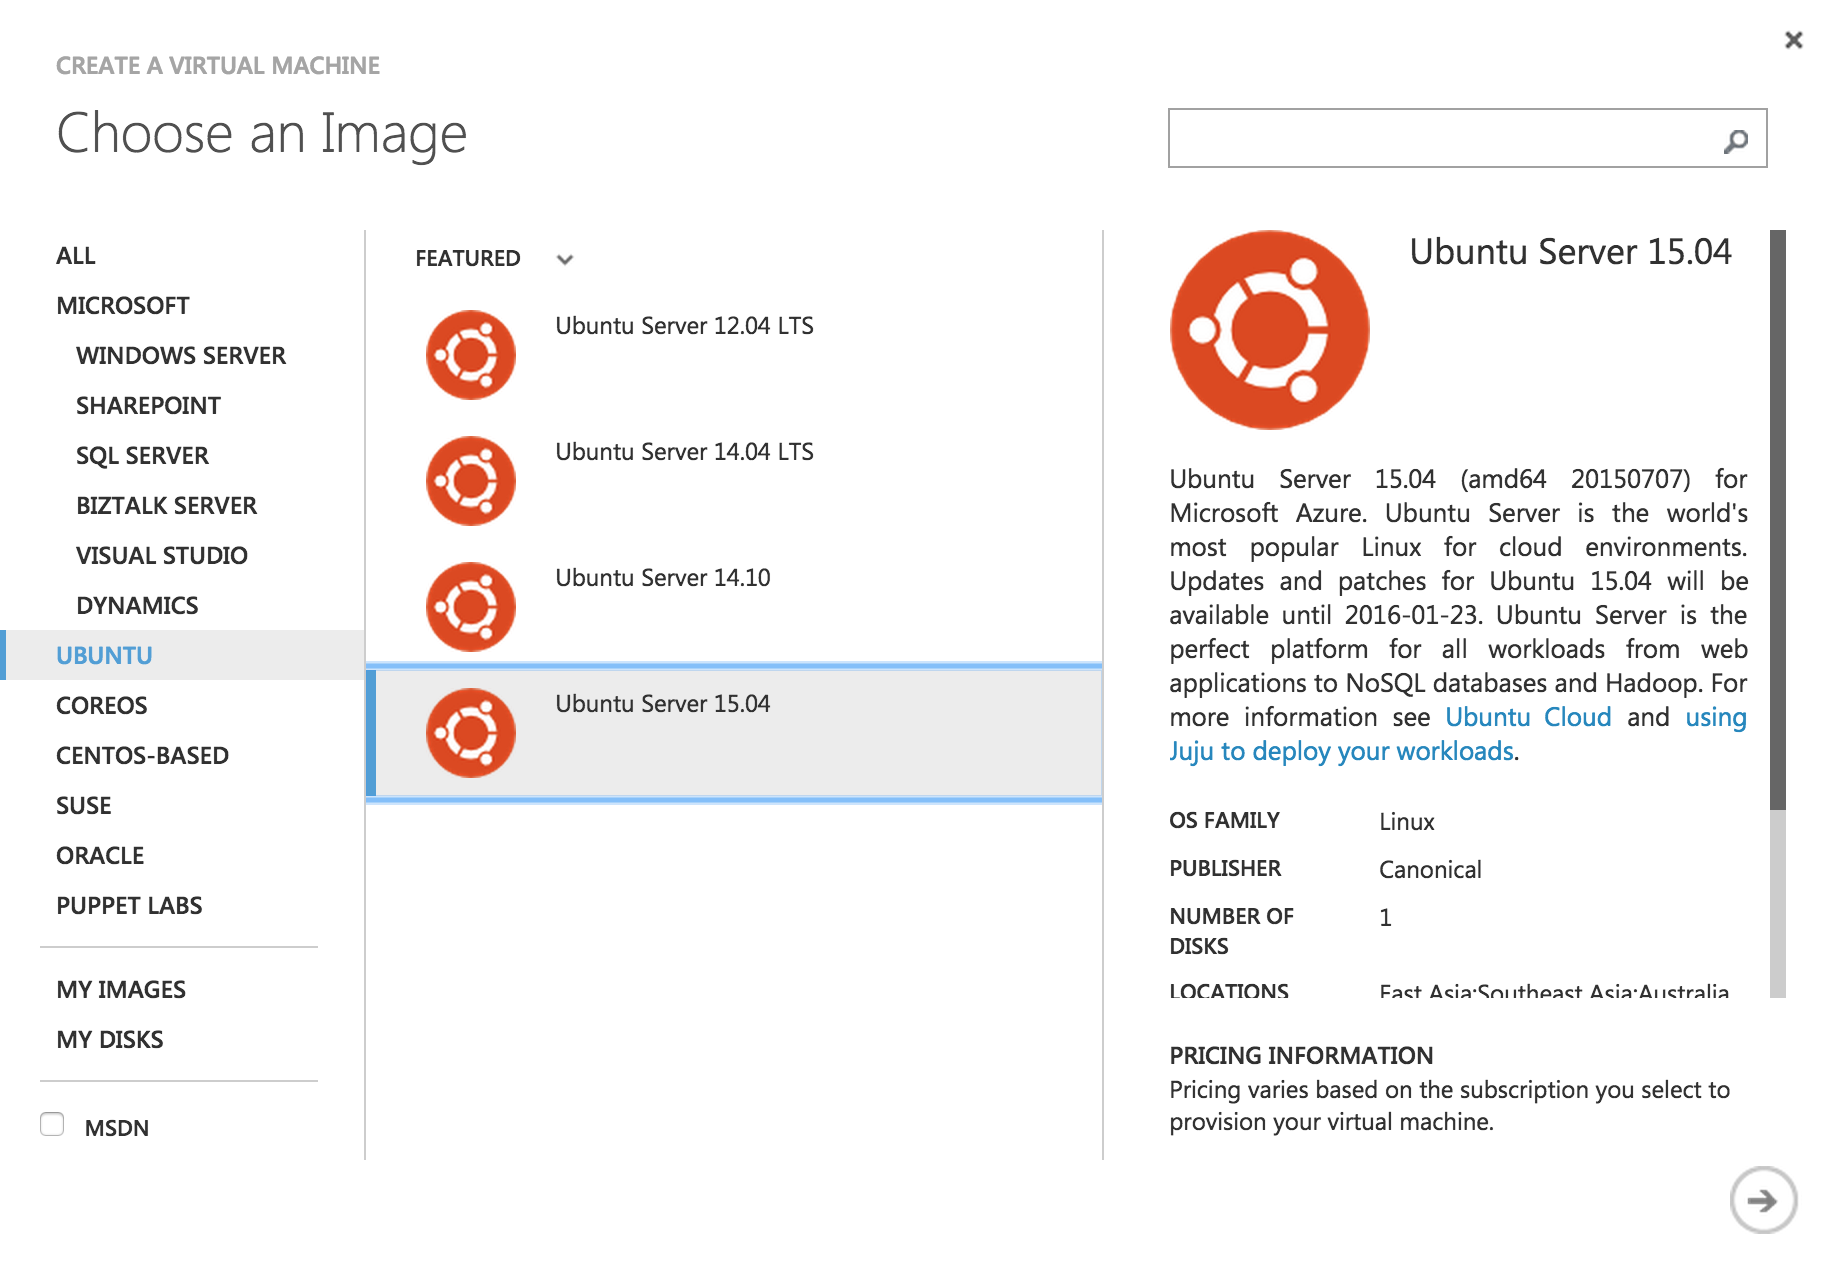
Then picked the latest version of Ubuntu available in there:
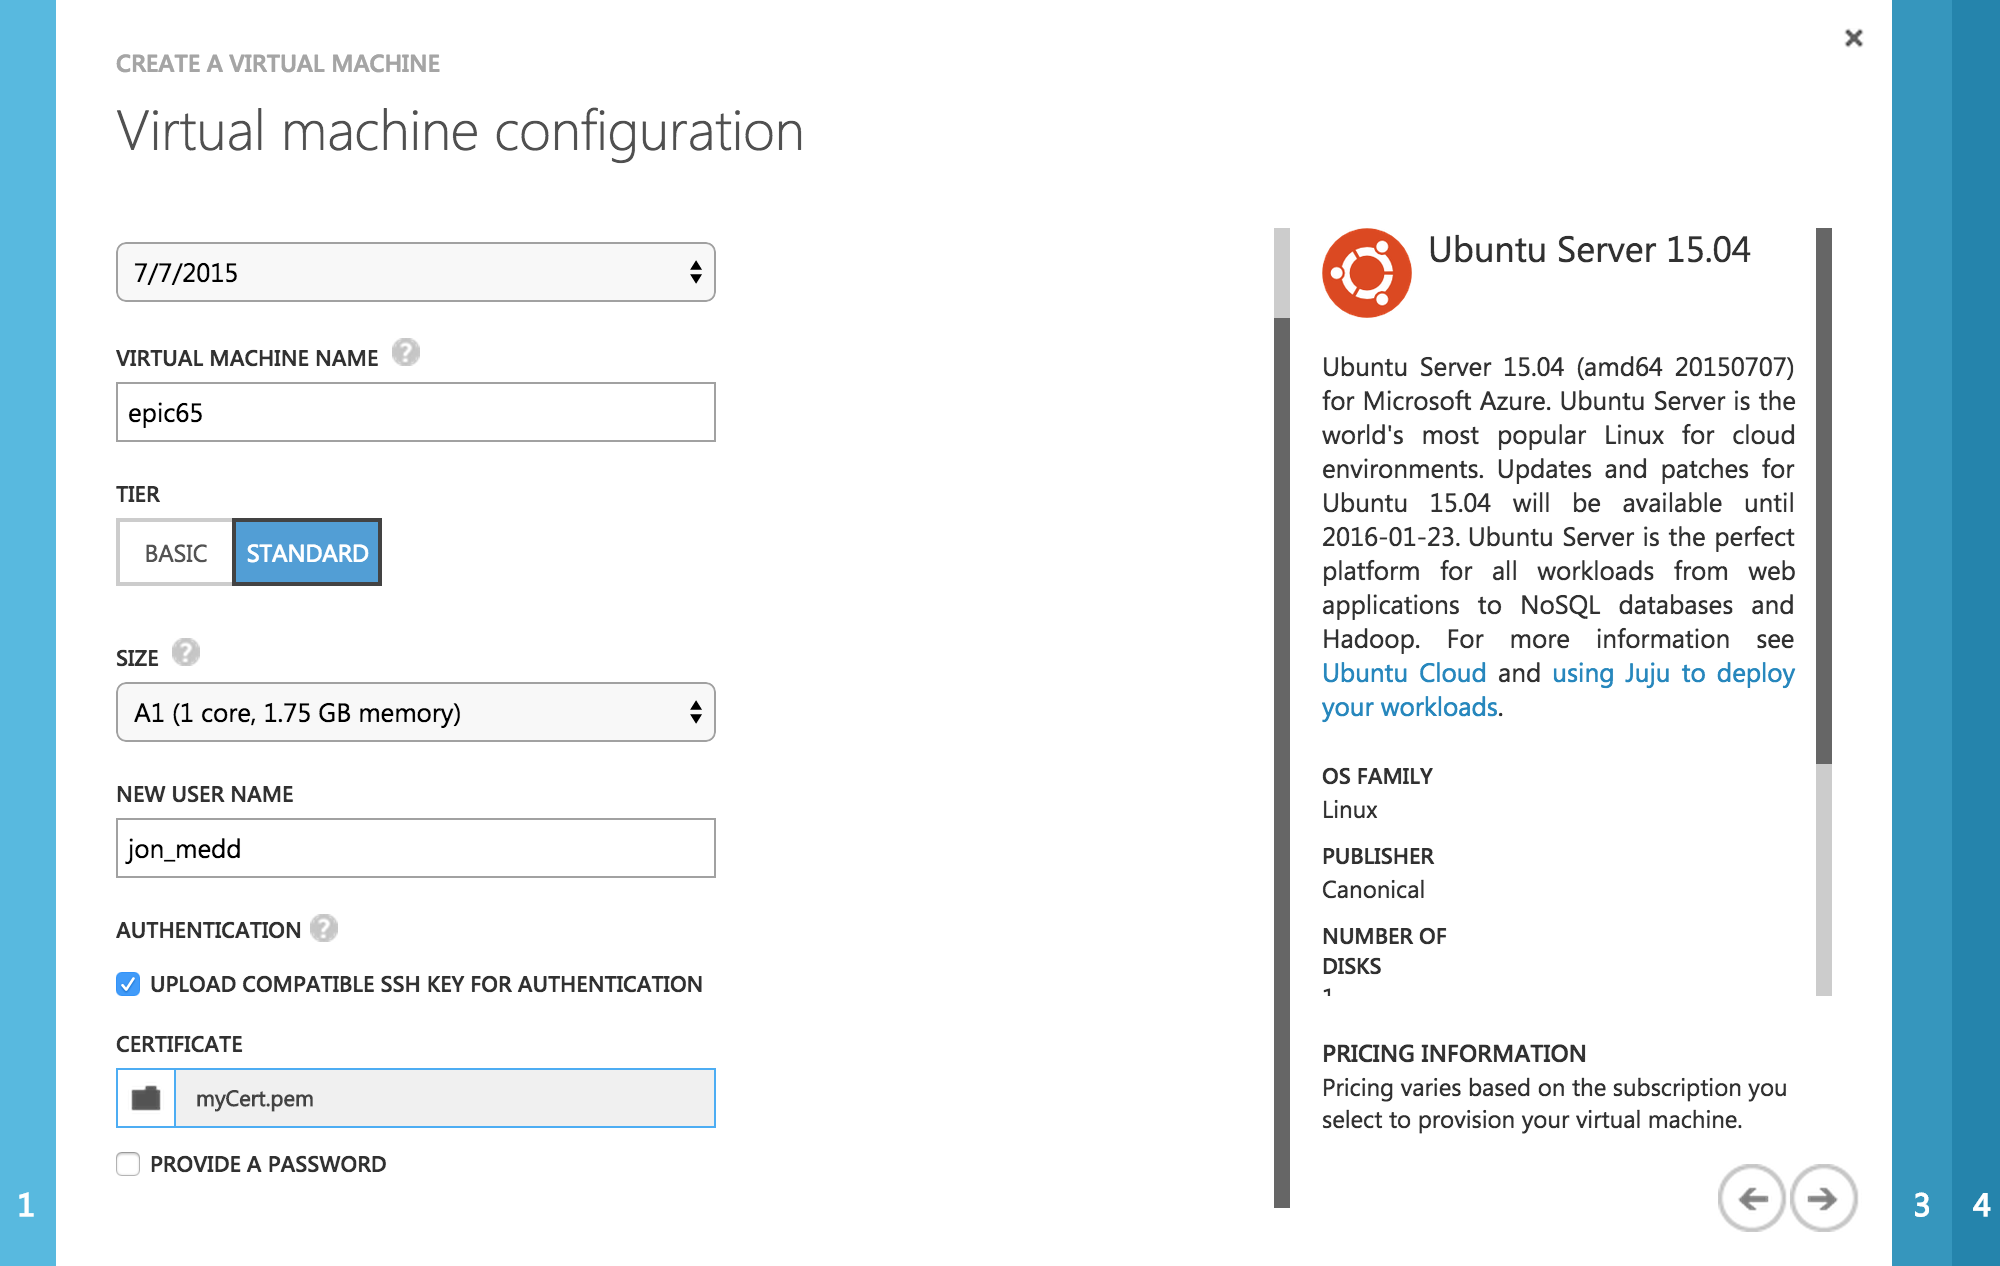
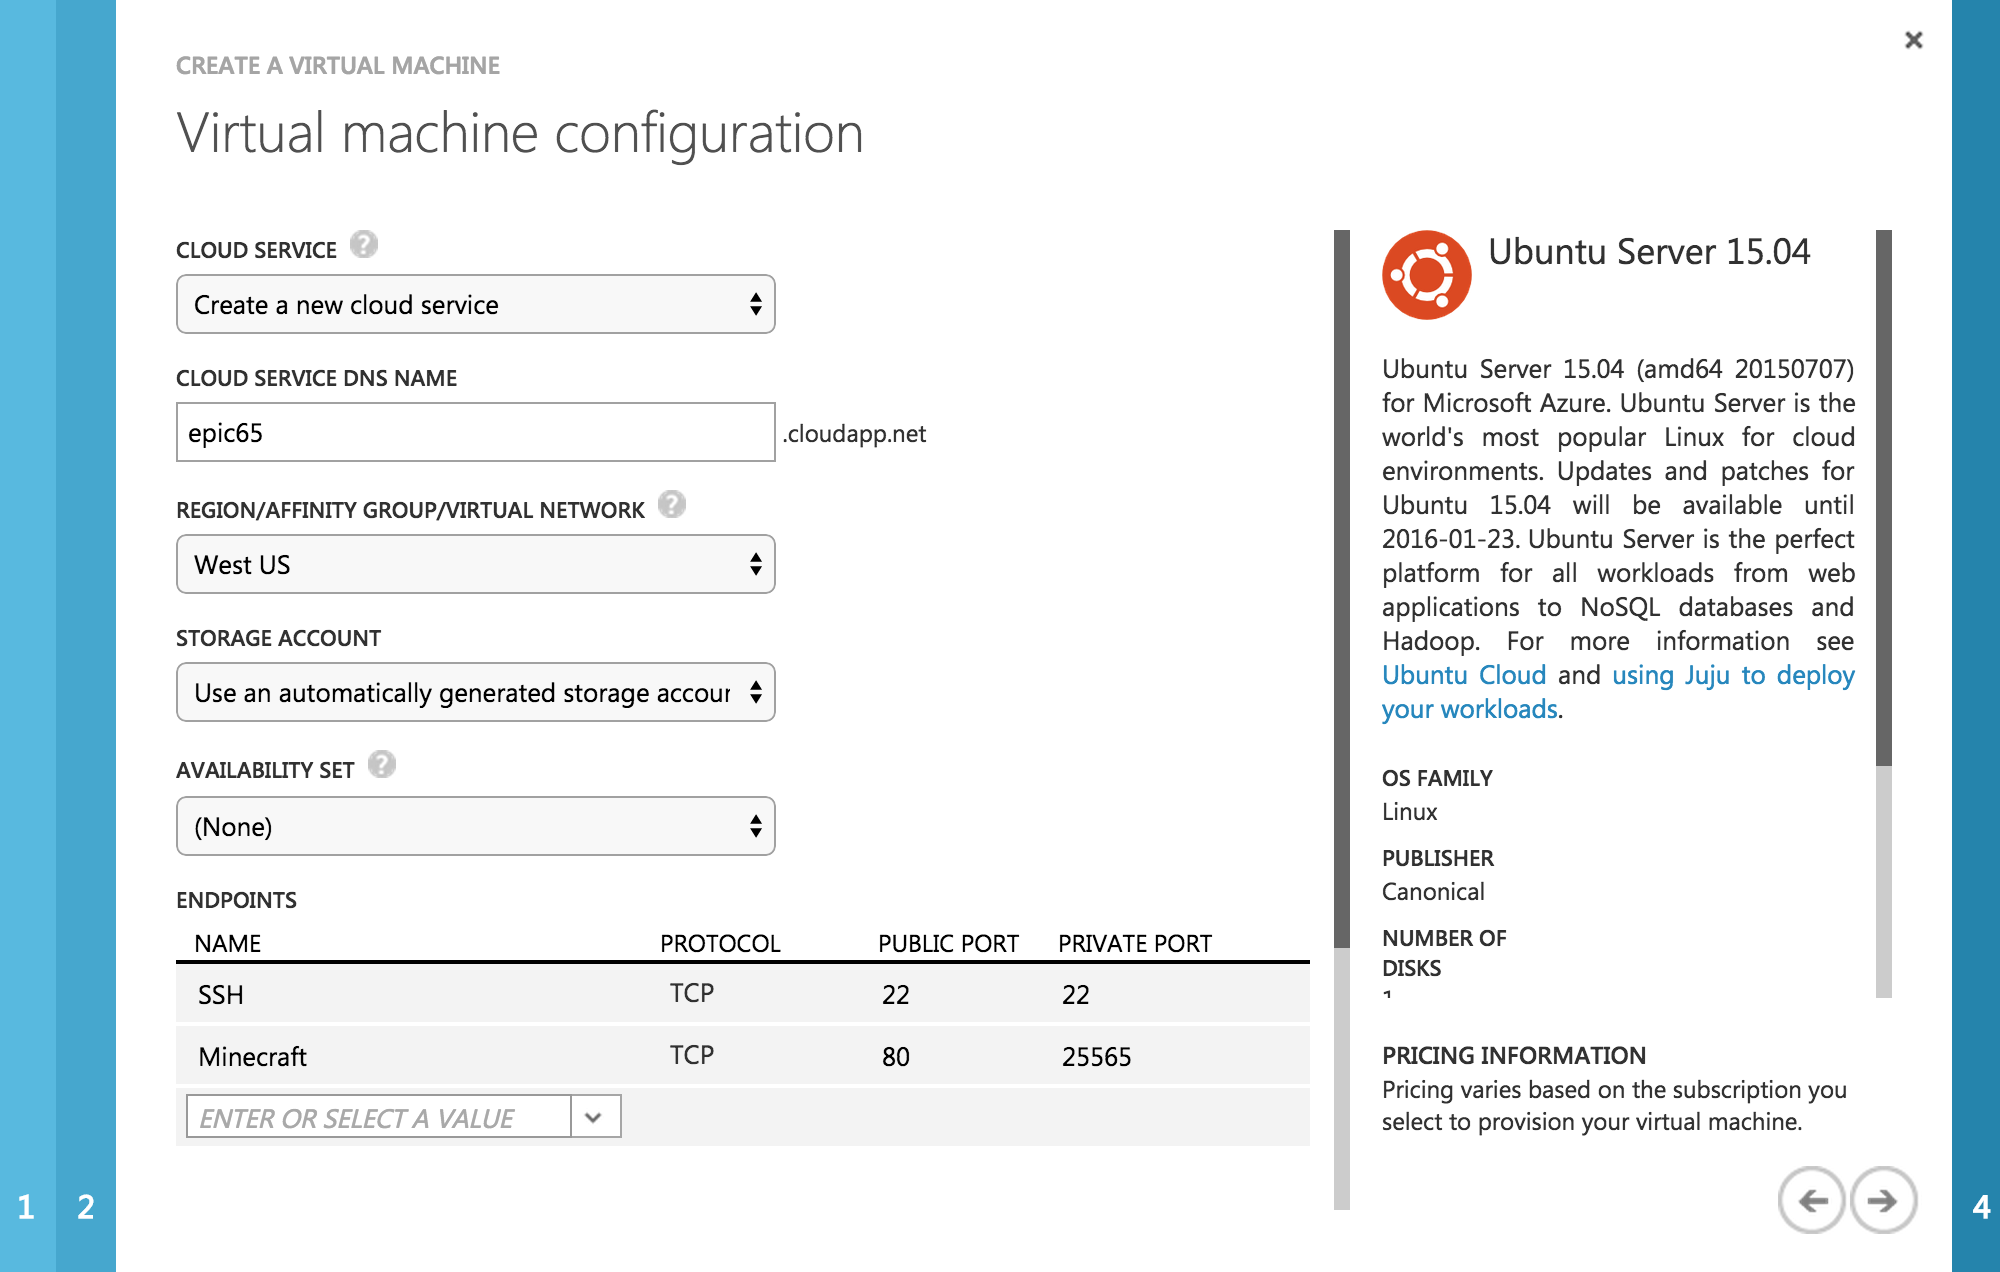
Fill out the Virtual Machine configuration dialogue. Note: to use SSH key authentication you need to supply an X.509 certificate.
Enter some more configuration details on the next page, including which datacenter region to host the VM in. Also be sure to add an additional port as an endpoint to include that which the Minecraft game needs, 25565.
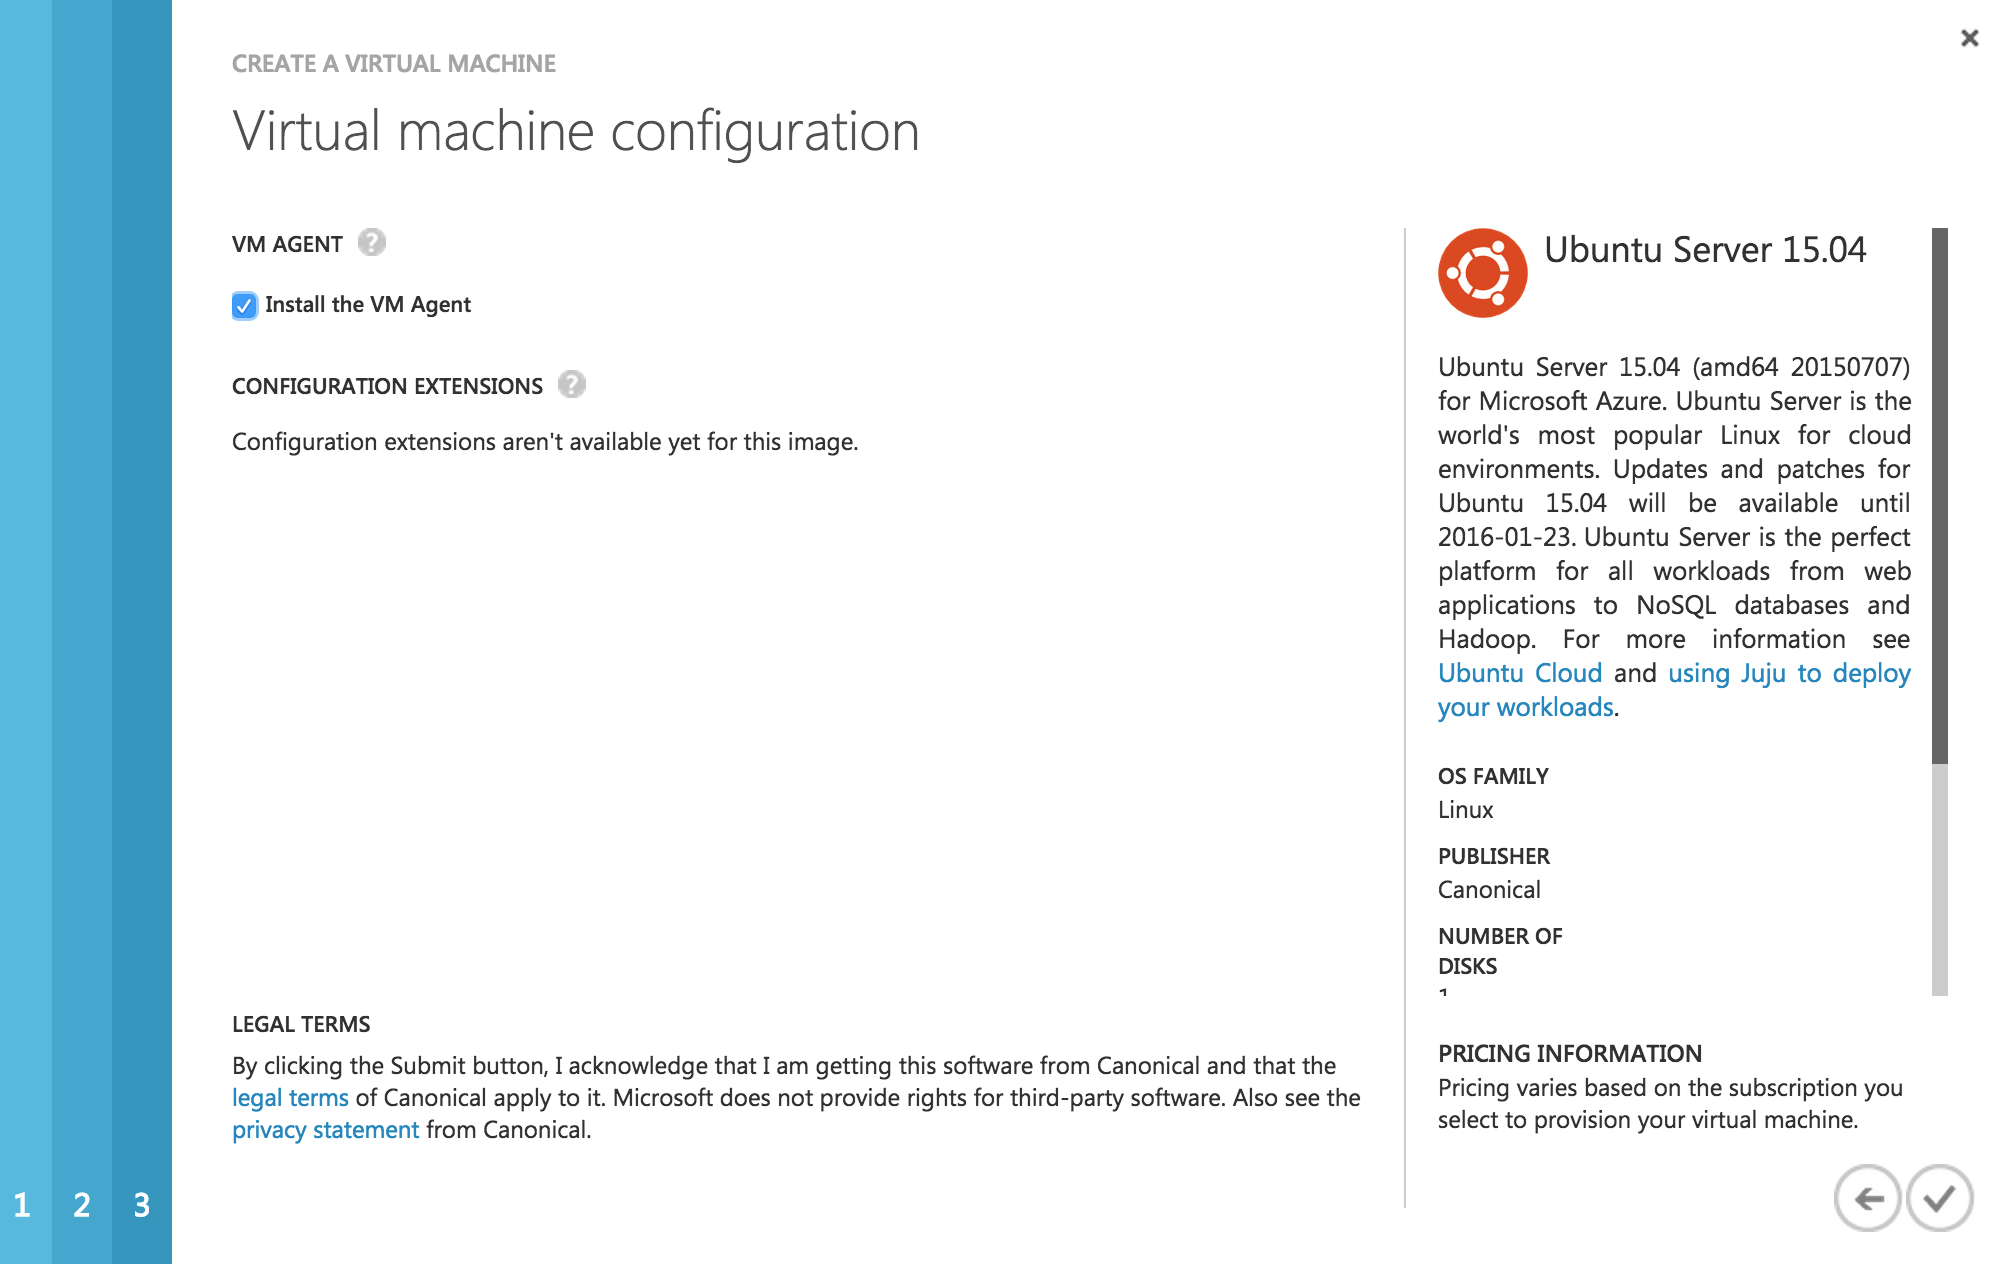
On the last page, check you are happy with the selections and then tick to go!
Sit back in comfort and wait for the VM to deploy:

Once complete, you’ll have a nice VM ready for you:

I hadn’t used Azure before and found it to be quite a nice experience overall.
Install Java
Connect with SSH to the VM and check whether Java is installed:

Install Java:
[bash]
sudo apt-get install openjdk-7-jre-headless
[/bash]
then confirm it is installed:
[bash]
java -version
[/bash]

Install Minecraft Spigot
*Full details can be found here*
Make a directory for downloading the Spigot build tools to and download the file:
[bash]
sudo mkdir -p /opt/Minecraft/build
cd /opt/Minecraft/build/
sudo wget https://hub.spigotmc.org/jenkins/job/BuildTools/lastSuccessfulBuild/artifact/target/BuildTools.jar
[/bash]
Run BuildTools.jar from the terminal - this took about 10+ mins for me:
[bash]
sudo git config –global –unset core.autocrlf
sudo java -jar BuildTools.jar
[/bash]
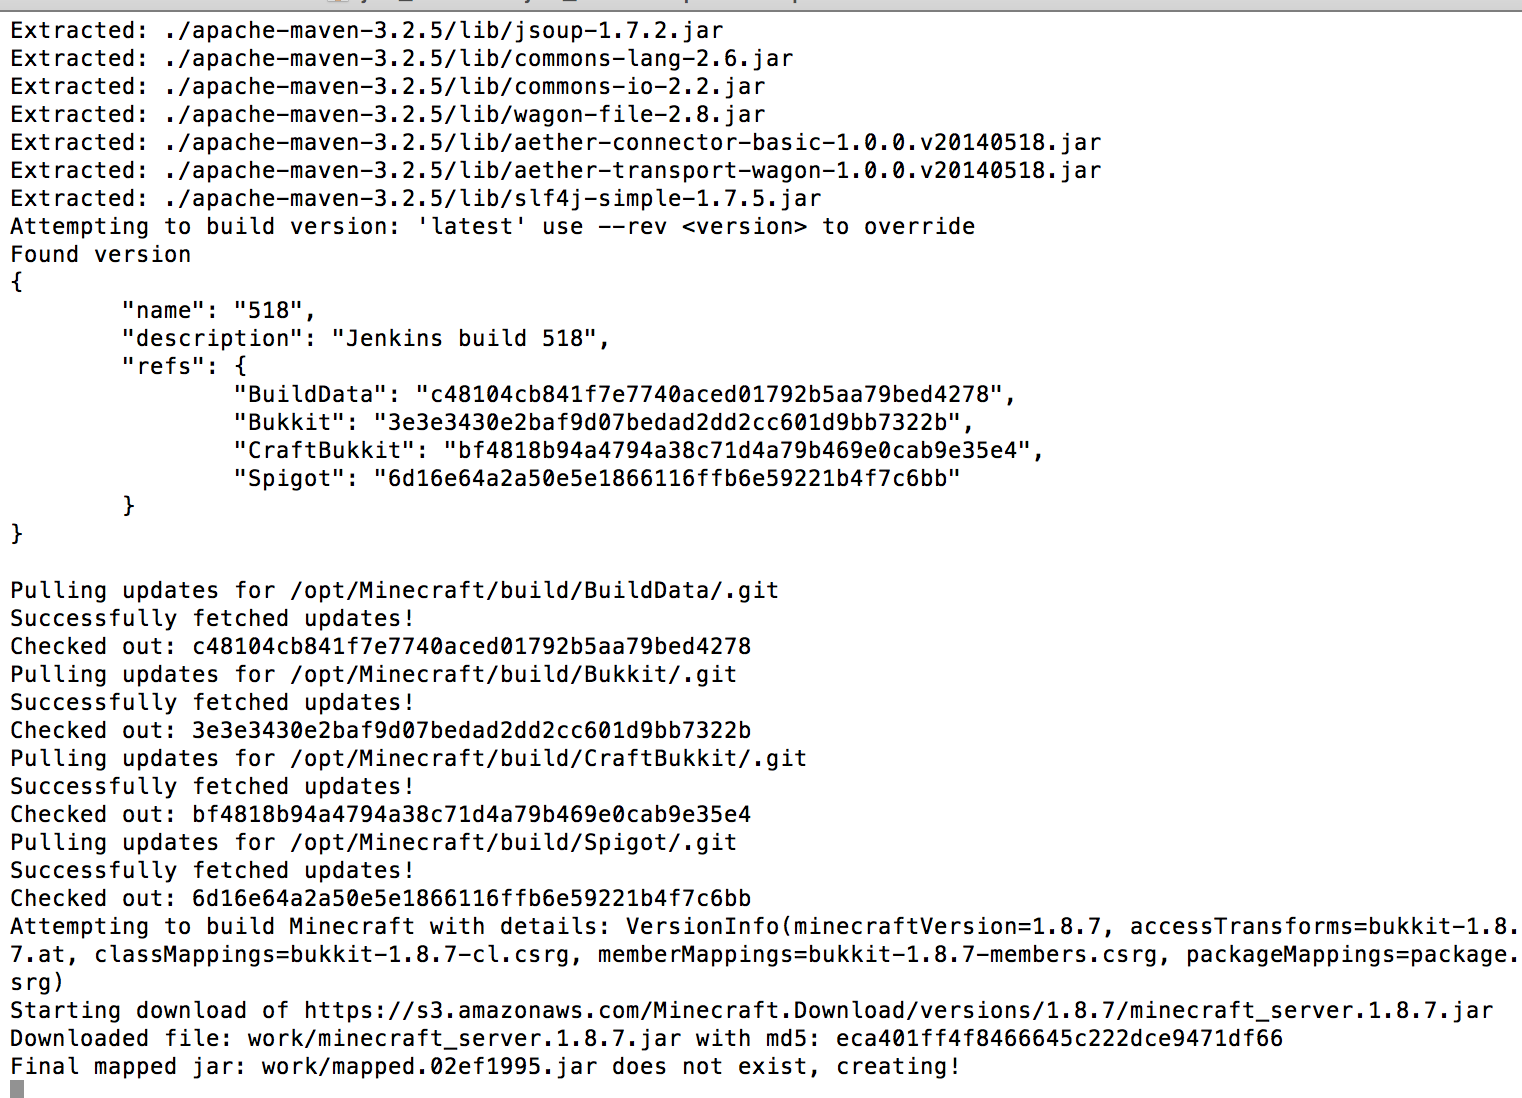
Eventually you should get something like this for a successful completion:
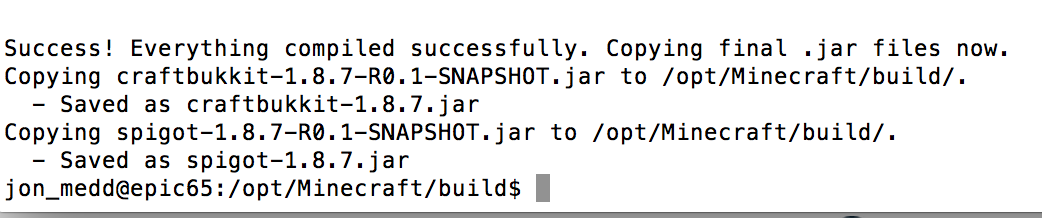
Create a new directory to host the compiled jar file and copy it there:
[bash]
sudo mkdir /opt/Minecraft/play
sudo cp /opt/Minecraft/build/spigot-1.8.7.jar /opt/Minecraft/play/spigot.jar
[/bash]
Create a new startup script (start.sh) in the directory to launch the the JAR:
[bash]
sudo vi /opt/Minecraft/play/start.sh
[/bash]
paste the following code into the start.sh file:
[bash]
#!/bin/sh
java -Xms512M -Xmx1024M -XX:MaxPermSize=128M -jar spigot.jar
[/bash]
Add run capabilities to the start.sh script. Run the start.sh script to start the initial run of the server, you’ll be prompted that the EULA needs agreeing to:
[bash]
sudo chmod +x start.sh
sudo ./start.sh
[/bash]

Edit eula.txt and set eula=true
[bash]
sudo vi eula.txt
[/bash]

Run the startup script again and this time the server will start fully:
[bash]
sudo ./start.sh
[/bash]
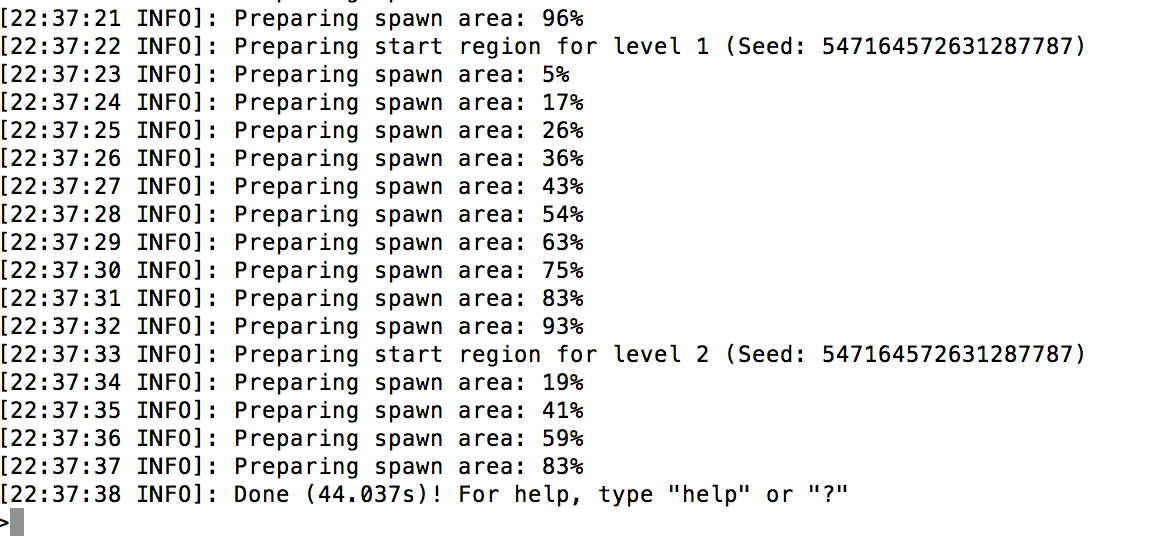
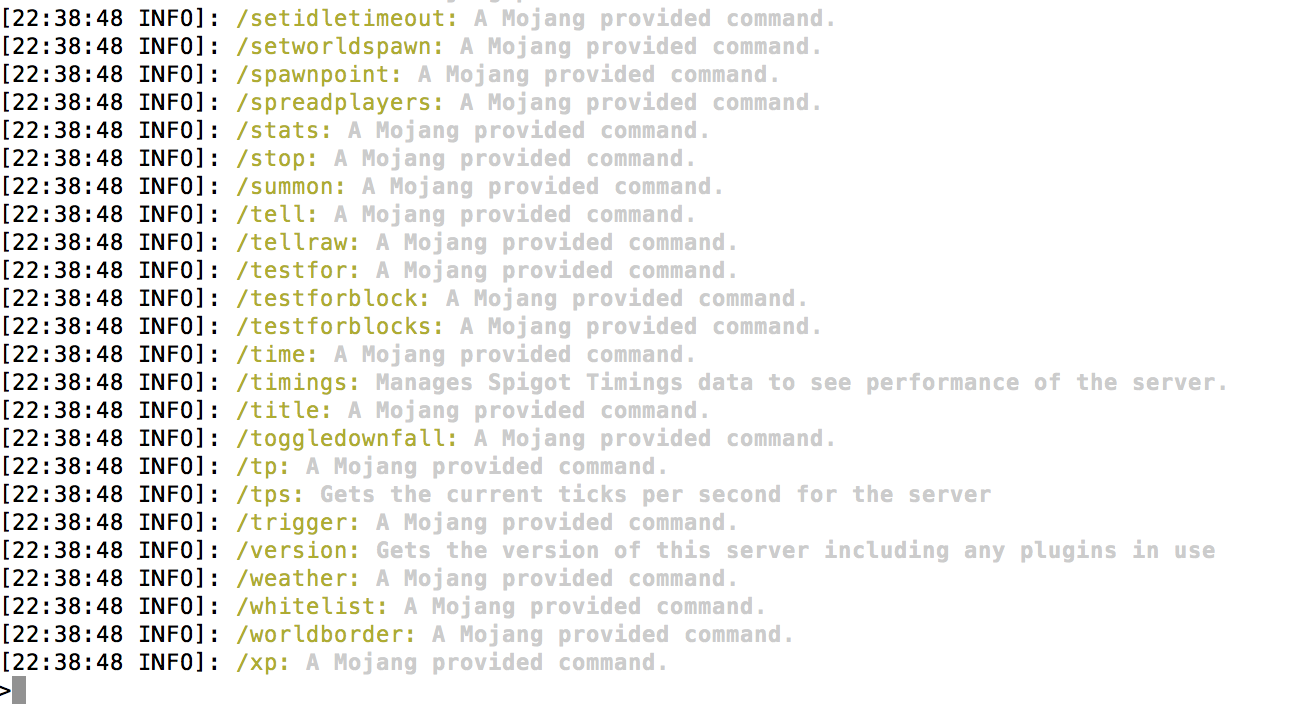
Typing help at this point will give a list of commands that can be used interactively. You can also set the configuration of the game by issuing a stop then editing the server.properties file.
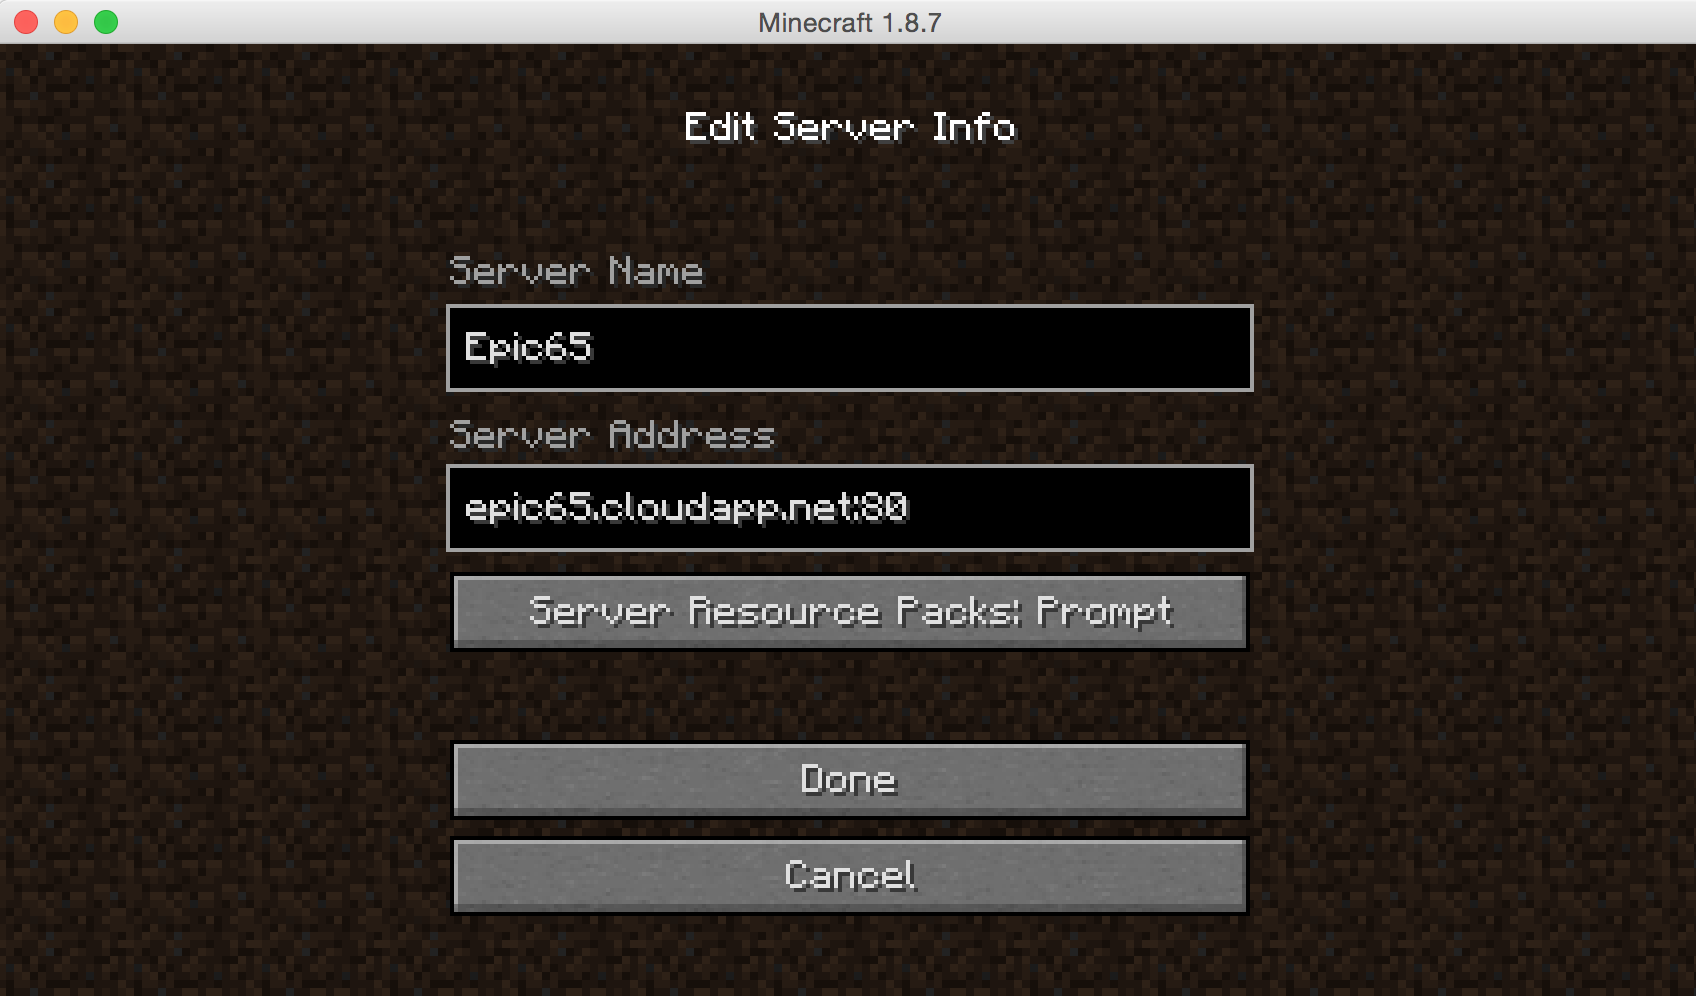
Now would be a good time to test you have set things up correctly. Fire up the Minecraft game and head into Multiplayer. Add a server and enter the details:
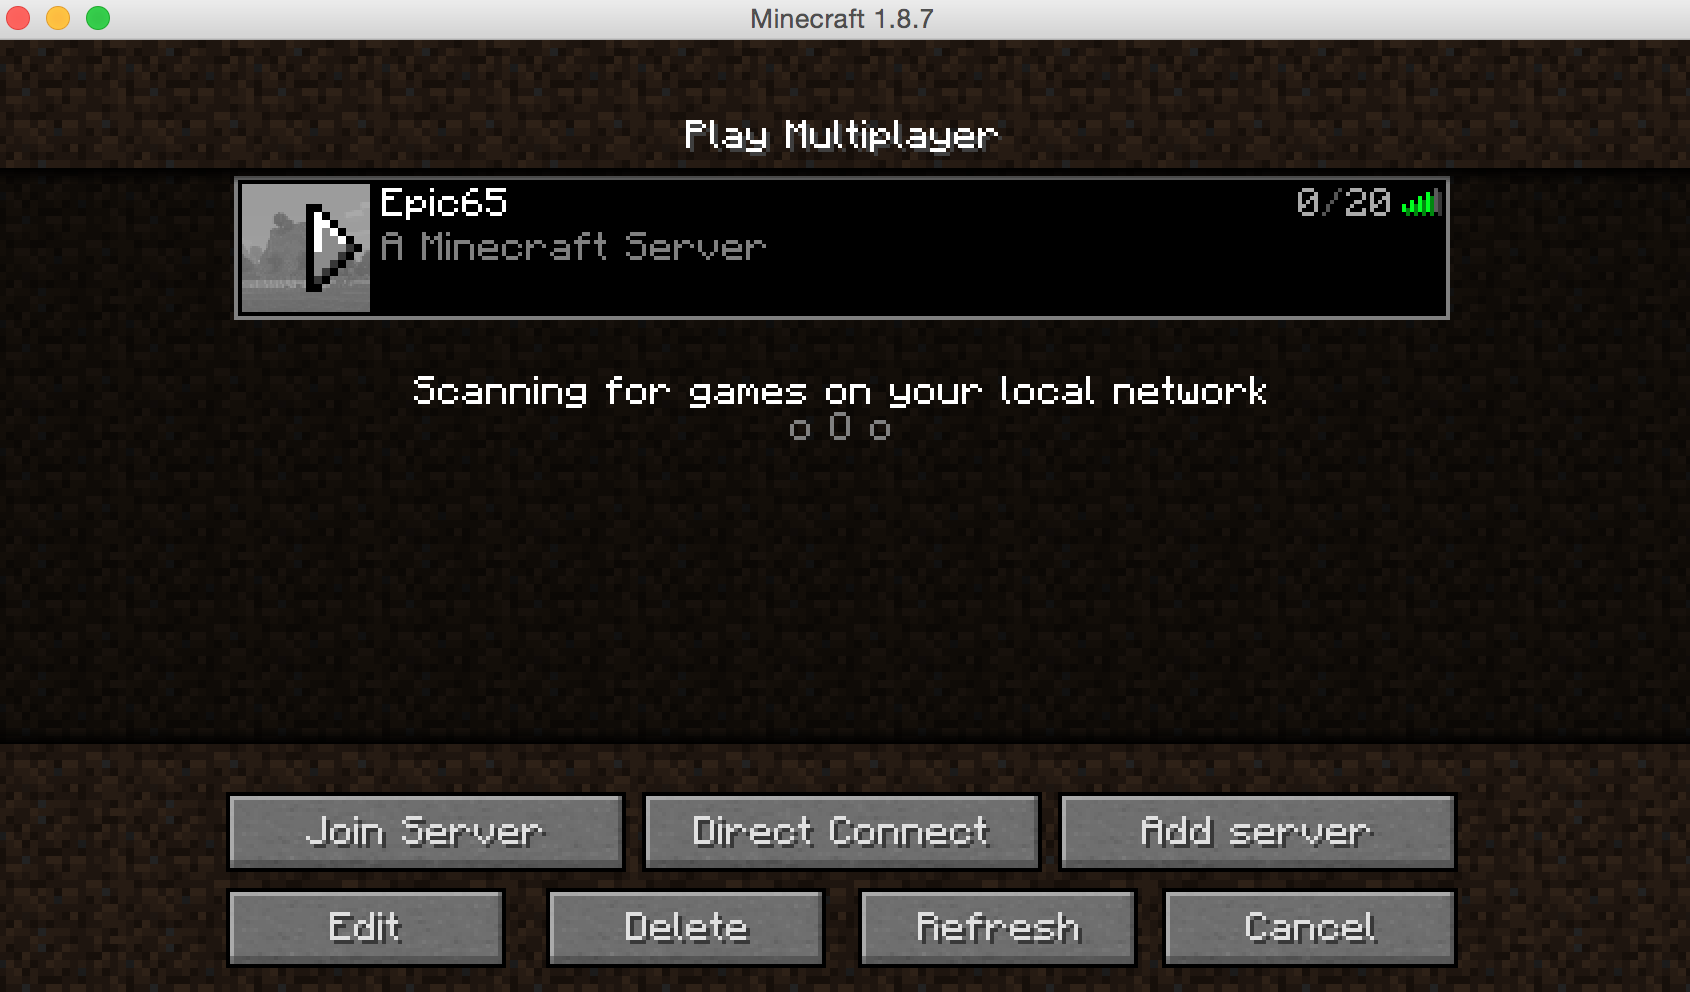
Once complete, the server should appear as available to connect to:
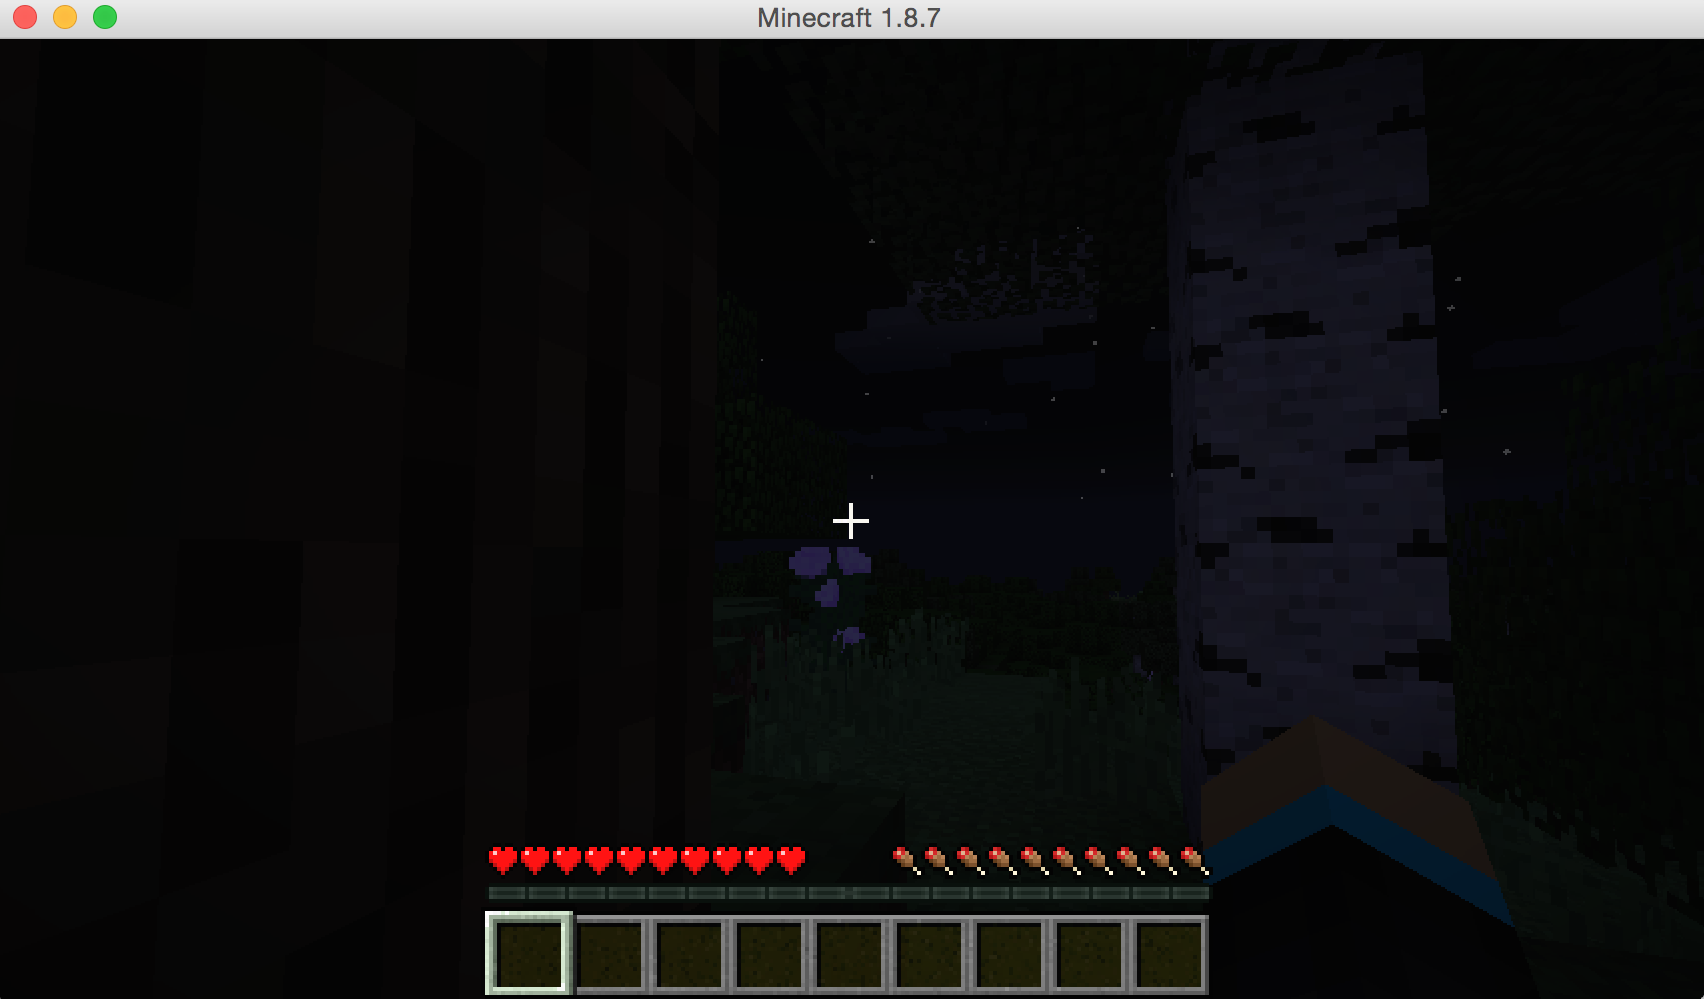
Oh no, it’s night time already!
Run Spigot as a service
Now all we need to do is run the Spigot server as a service, rather than interactively, otherwise the game dies when we drop the SSH session.
(Note: I expect there is a better way to do this than what I came up with, but I’m by no means a Linux expert, so feel free to leave a comment if you have a better way)
Create a minecraft.service file
[bash]
sudo vi /etc/systemd/system/minecraft.service
[/bash]
Paste the following into that file:
[bash]
[Unit] Description=Minecraft Server [Service] WorkingDirectory=/opt/Minecraft/play ExecStart=/opt/Minecraft/play/start.sh [Install] WantedBy=multi-user.target
[/bash]
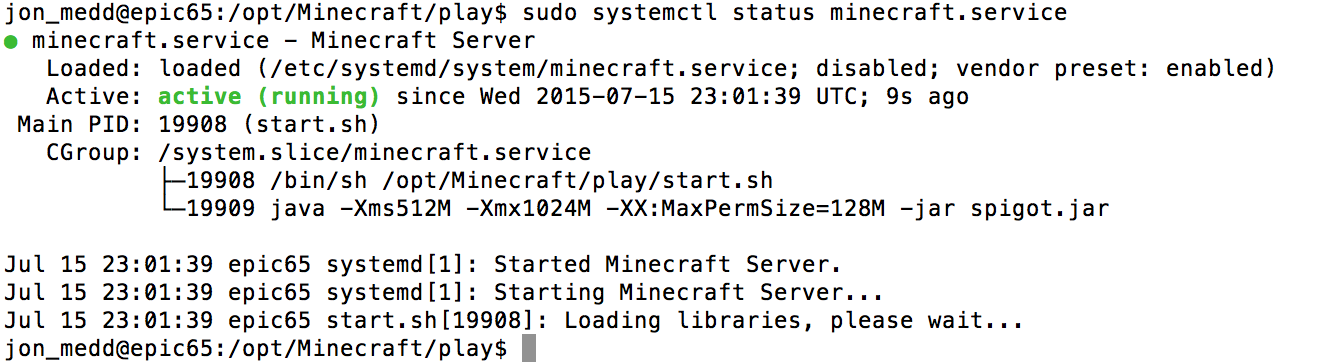
Start the service and check the status:
[bash]
sudo systemctl start minecraft.service
sudo systemctl status minecraft.service
[/bash]
All being well you should see the service begin to start up: