Working with the vRealize Automation REST API via vRealize Orchestrator
As of vRealize Automation version 6.2.1 there are a few different approaches to automating elements of the product itself, as opposed to using it for the automation tasks it is designed to help you with. This is along the lines of configuring elements within vRA, some of which I have covered previously within this blog post series. That series focused on using the vRA plugin for vRealize Orchestrator. However, the plugin doesn’t cover everything that you might need to automate within the product. Things are also not helped by the fact that vRA itself at this time is in a split-brain state making some parts of it hard to automate.
The good news is that elements which belong to the vRA Appliance side of the split-brain and are not in the vRO plugin, may well be covered by the vRA REST API. This blogpost from Kris Thieler is a really useful guide to getting started with the vRA REST API.
Taking elements from that post, I have applied them for use in vRO, i.e. I want to be able to run workflows in vRO to use the vRA REST API.
Getting an Authentication Token
The Getting Started blogpost demonstrates that to authenticate with the vRA REST API requires first of all generating an authentication token which can then be used for all subsequent REST requests for up to a 24 hour period.
My previous experience with using REST within vRO had been straightforward cases of adding a REST Host via the Add a REST host configuration workflow and supplying a set of credentials at that point which would then be used for each request. This approach was obviously not going to work in this instance.
The following is the procedure I came up with to work with authentication tokens; more than happy for comments on this post for easier or better ways to do it :-)
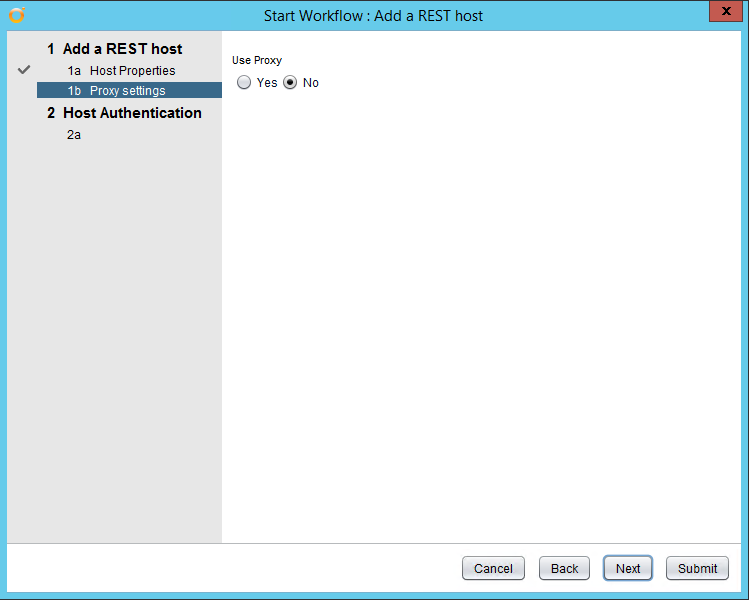
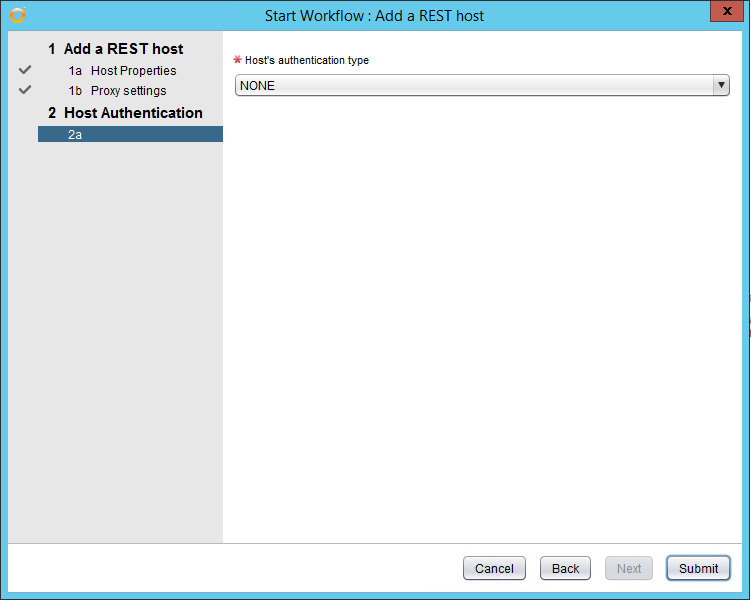
First of all run the Add a REST host configuration workflow with the vRA appliance set as the target URL and set the authentication method to None.

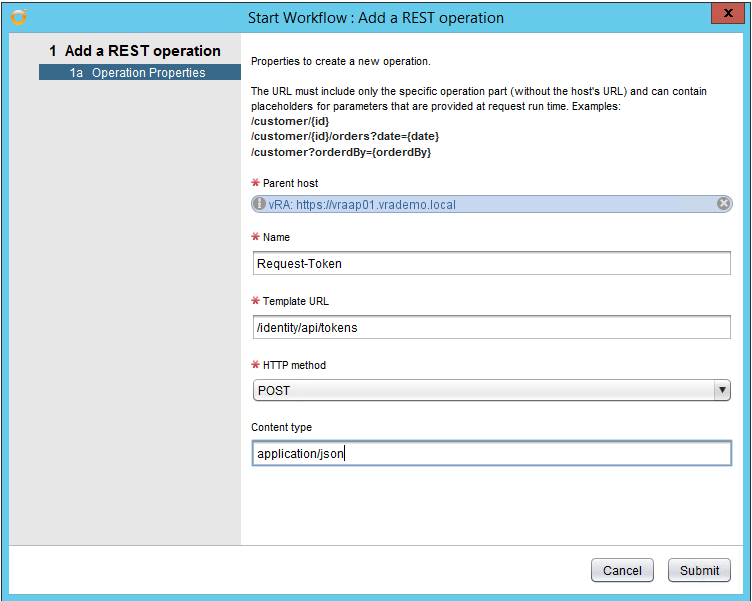
Next step is to add a REST operation with the query to generate a token. It’s a POST request to the URL /identity/api/tokens .
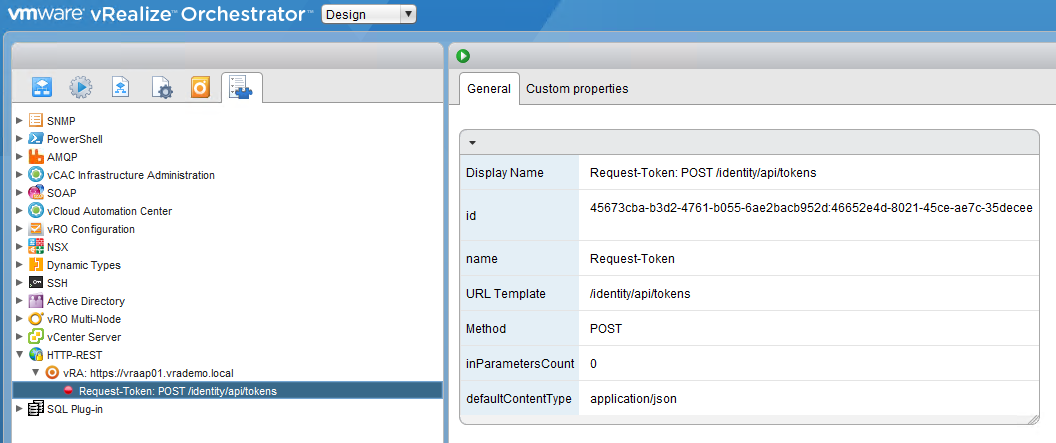
This will create an operation which is viewable from the Inventory view:
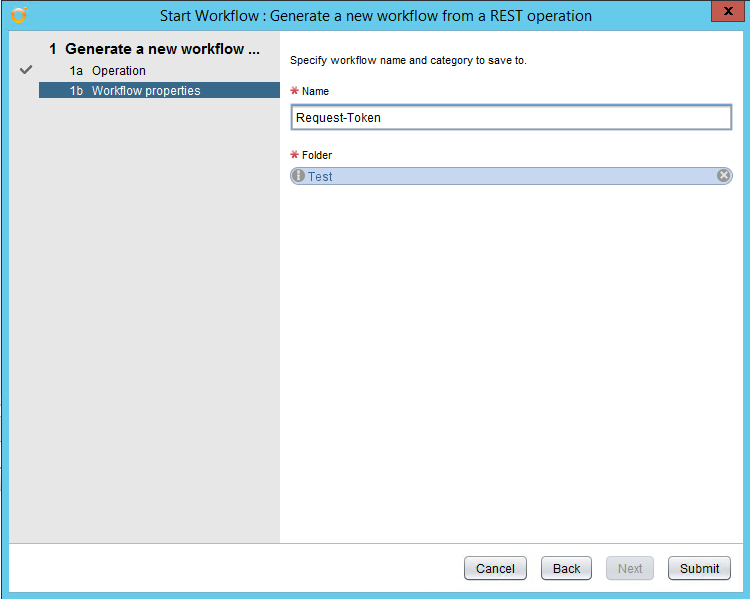
Now we need to create our own Workflow to use based off of that REST operation. Run the Library workflow Generate a new workflow from a REST operation and select the REST operation just created:
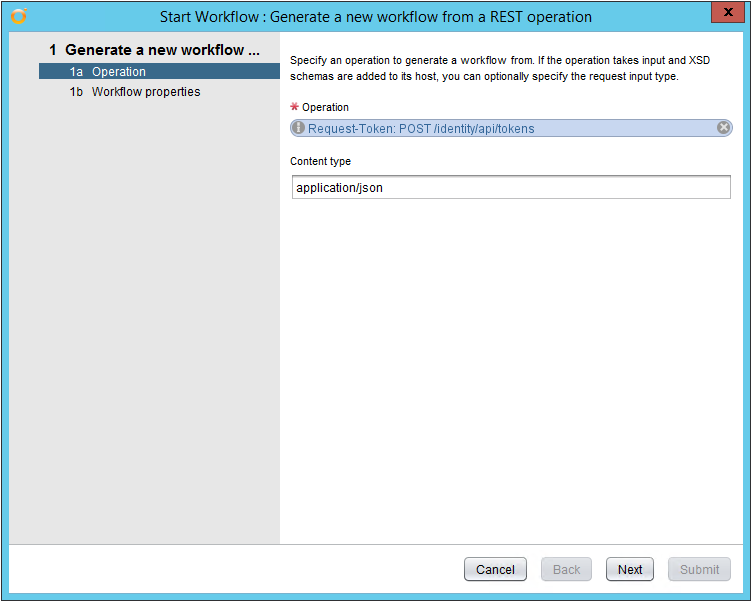
I’ve named it Request-Token and am storing it in the Test vRO folder.
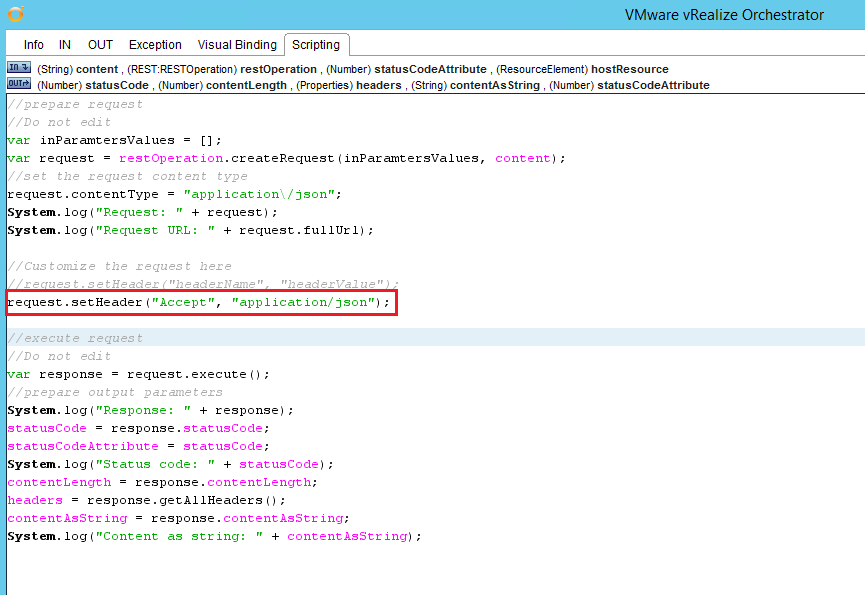
We need to modify this workflow to add an extra header required by the API. The Getting Started blogpost shows that we need an Accept header Accept : application/json . (In this previous post I demonstrate how to add headers) On the Scripting tab add the following code:
[code language=“javascript”]
request.setHeader(“Accept”, “application/json”);
[/code]
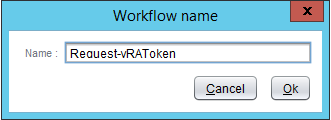
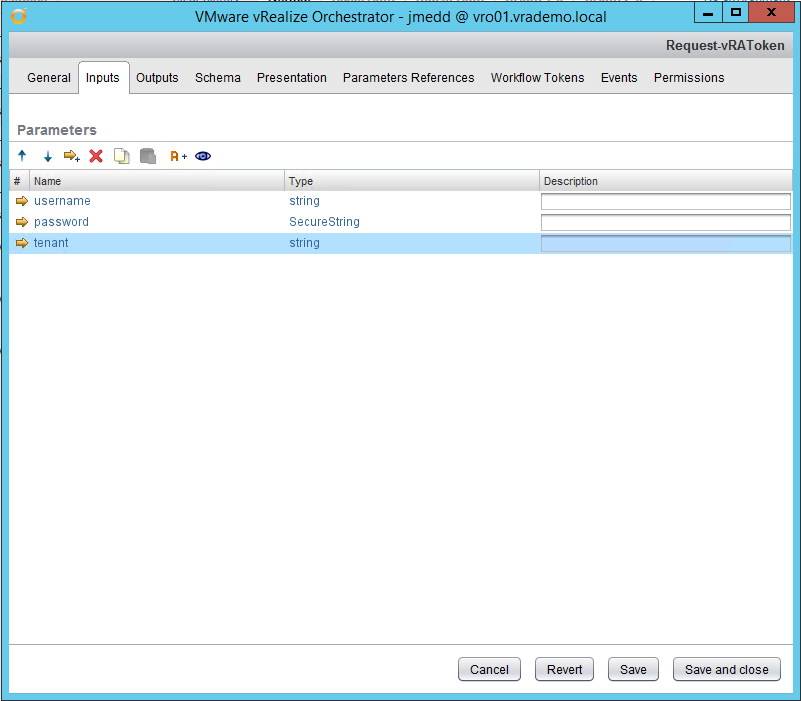
Once successfully complete, we can make use of it to generate a token. Create a new workflow Request-vRAToken which will take inputs of the info we need to generate a token (vRA username, password and Tenant name) and use the Request-Token workflow to send the request to generate it.
Set inputs for Request-vRAToken to be:
- username - String
- password - SecureString
- tenant - String
Add a scriptable task to the schema, Create POST text, and set the inputs to be the parameters just created. This task will generate the text we need to send as part of the POST request.
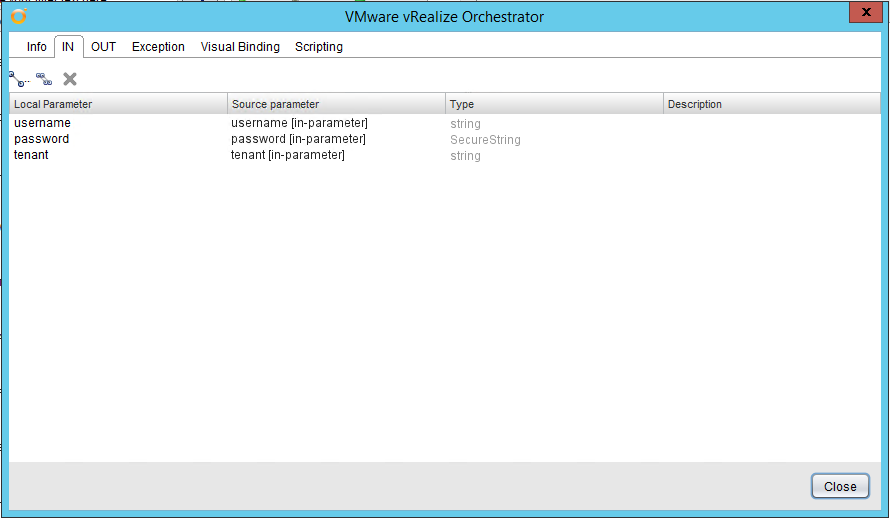
Set an attribute output as:
- postText - String
On the Scripting tab add the following code:
[code language=“javascript”]
var postText = “{\“username\”:\”" + username + “\”,\“password\”:\"" + password + “\”,\“tenant\”:\"" + tenant + “\”}";
System.log(“PostText is: " + postText);
[/code]
Note: once you are happy this is working, it would be worth removing the System.log line so that the password is not echoed into the logs.

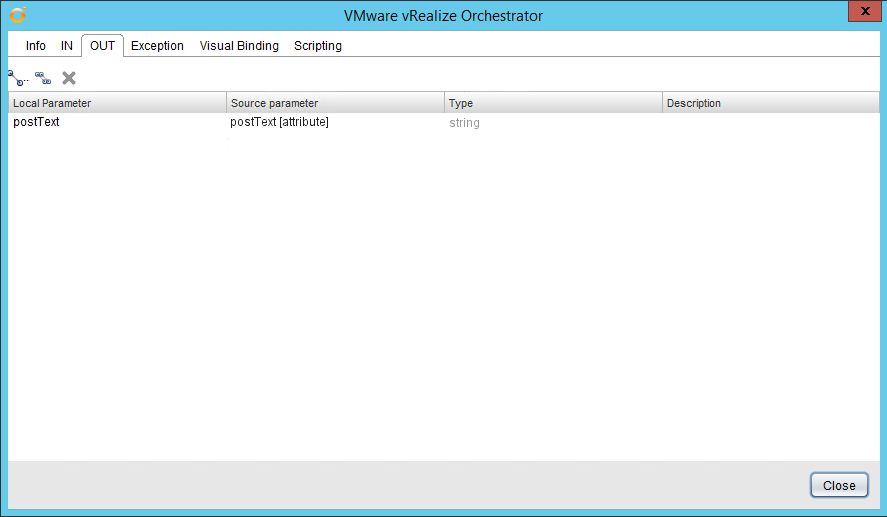
Close the scriptable task and add a Workflow element next in the schema, selecting the Request-Token workflow previously created. Set the input as the postText attribute:
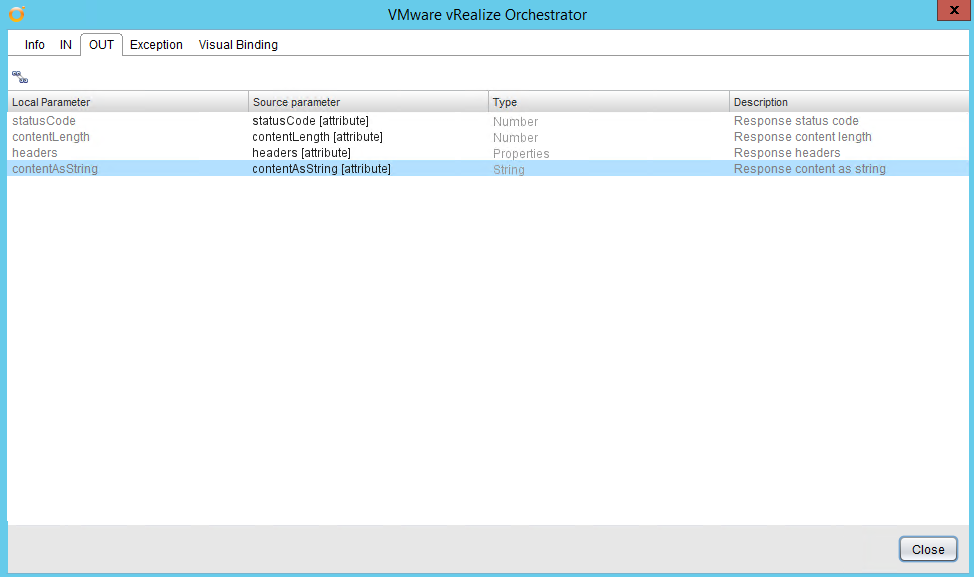
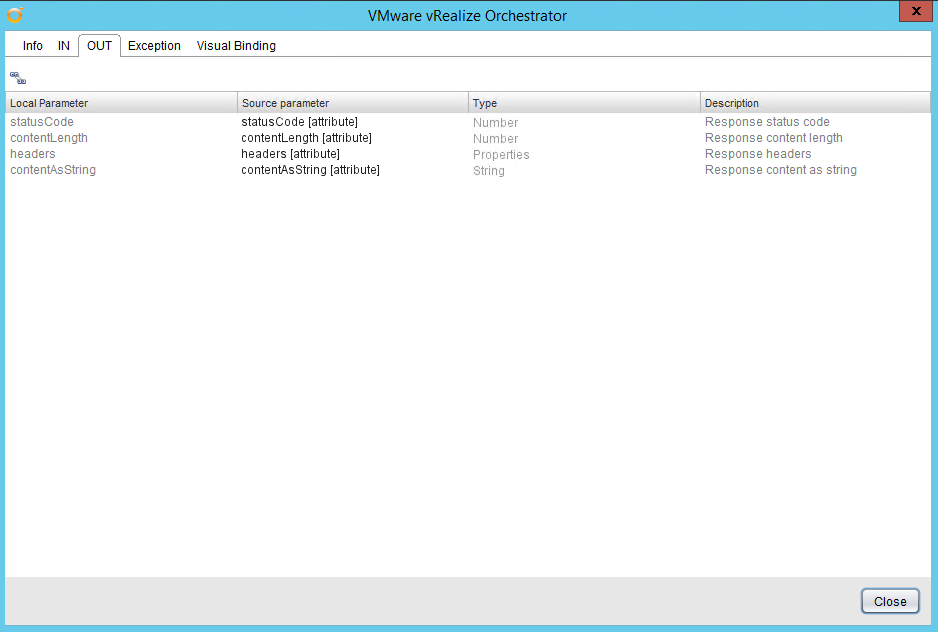
Set output attributes to match the standard REST output names:
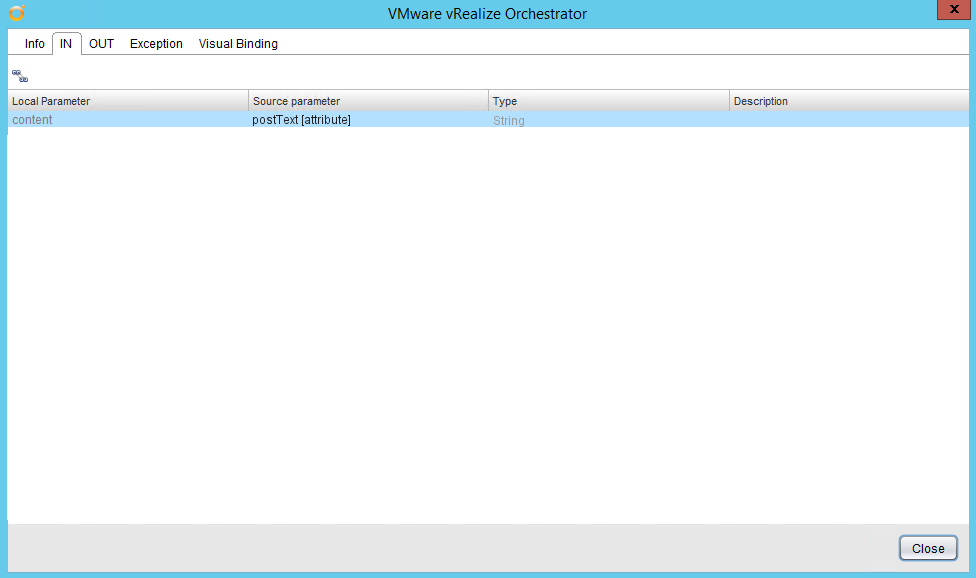
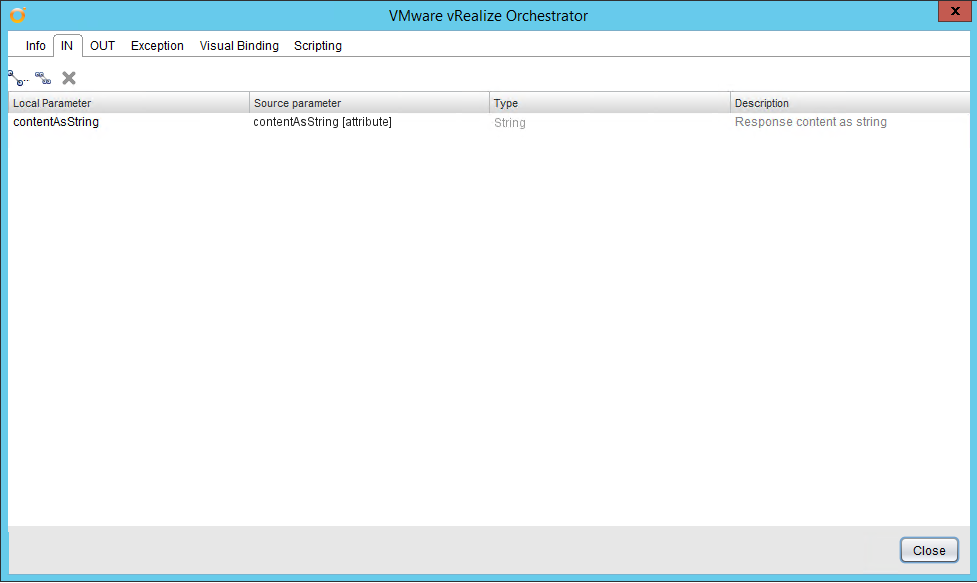
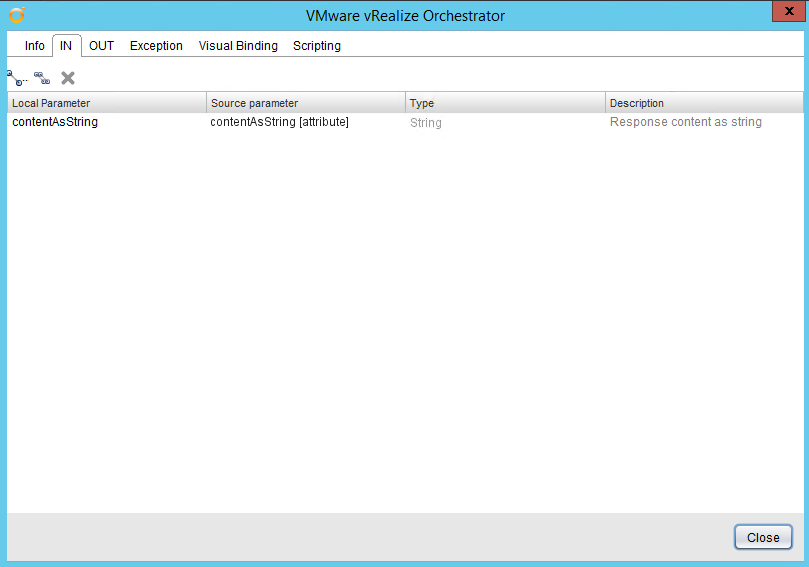
Close the workflow settings and add a final scriptable task, Output Token. For inputs select contentAsString :
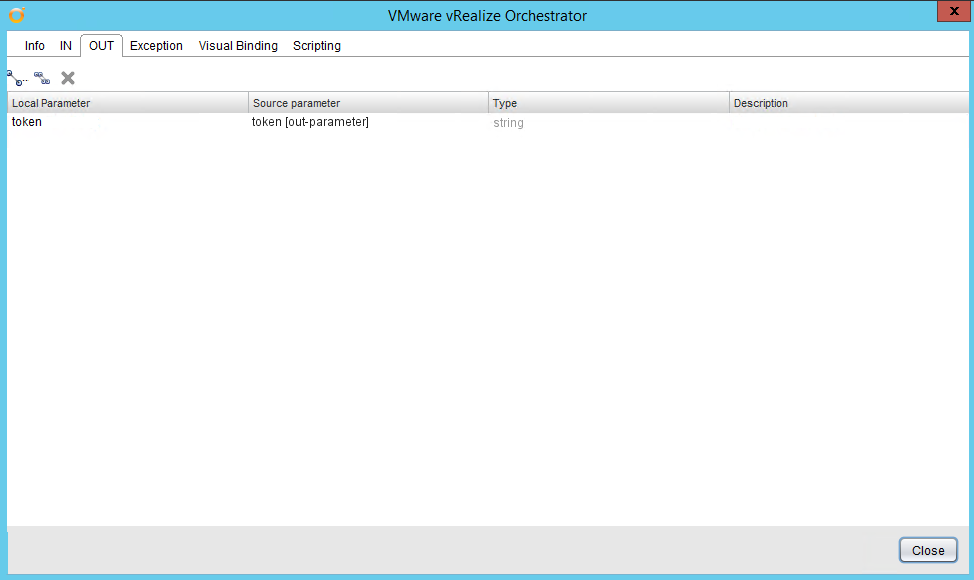
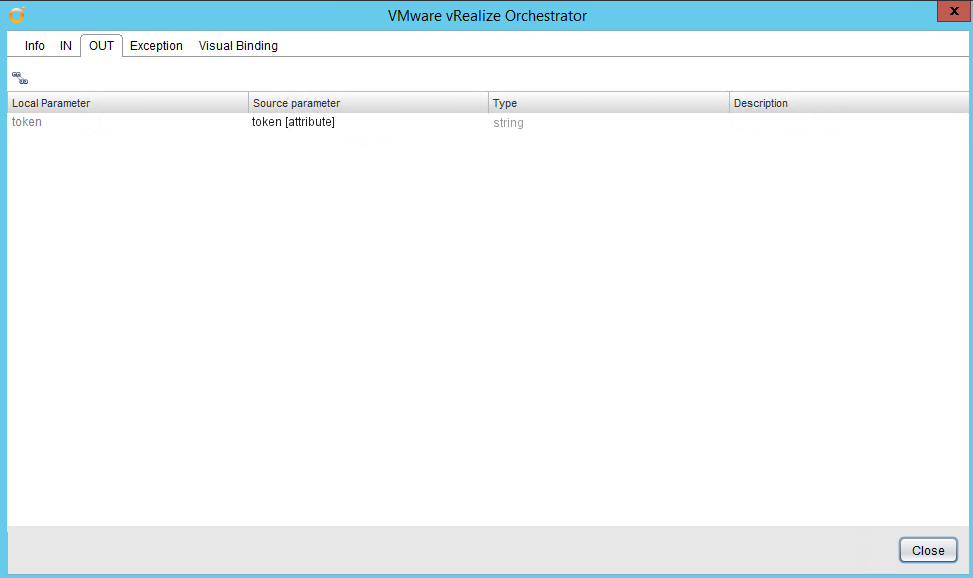
Create an output parameter token, which we will use to get the token out of the workflow:
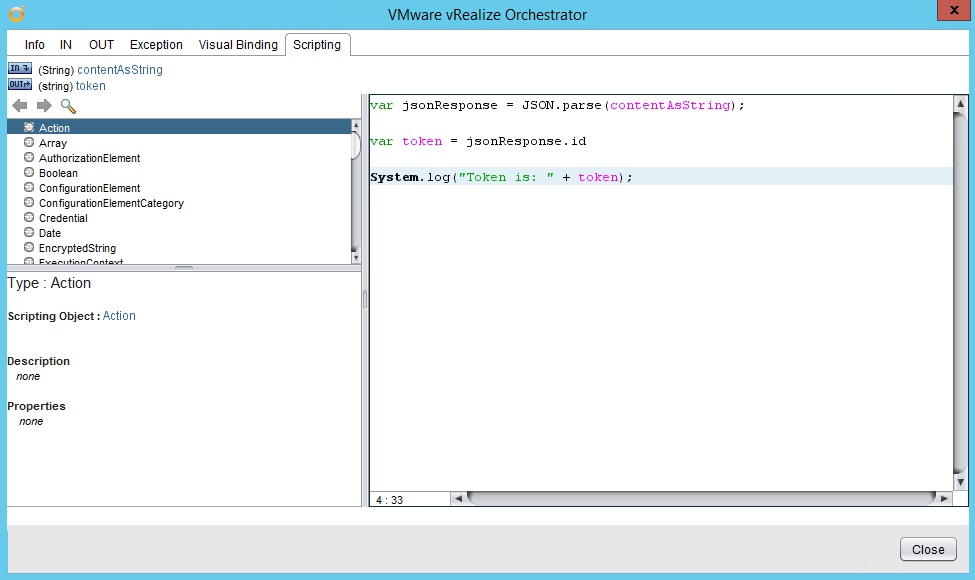
On the Scripting tab add the following code to parse the JSON response from the vRA API and pick out the token:
[code language=“javascript”]
var jsonResponse = JSON.parse(contentAsString);
var token = jsonResponse.id
System.log(“Token is: " + token);
[/code]
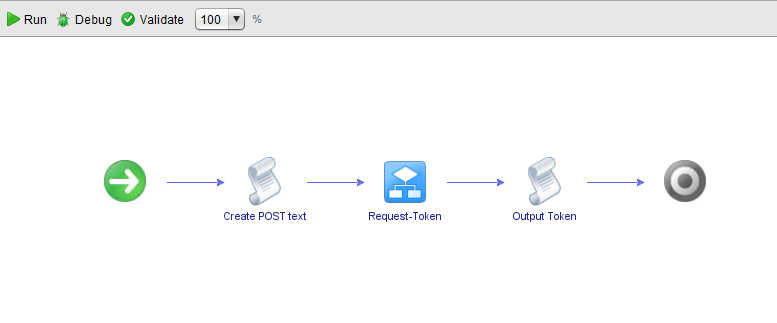
Close the scriptable task and the schema will look like this:
Save and close the workflow. Then run it, supplying credentials and a tenant name:
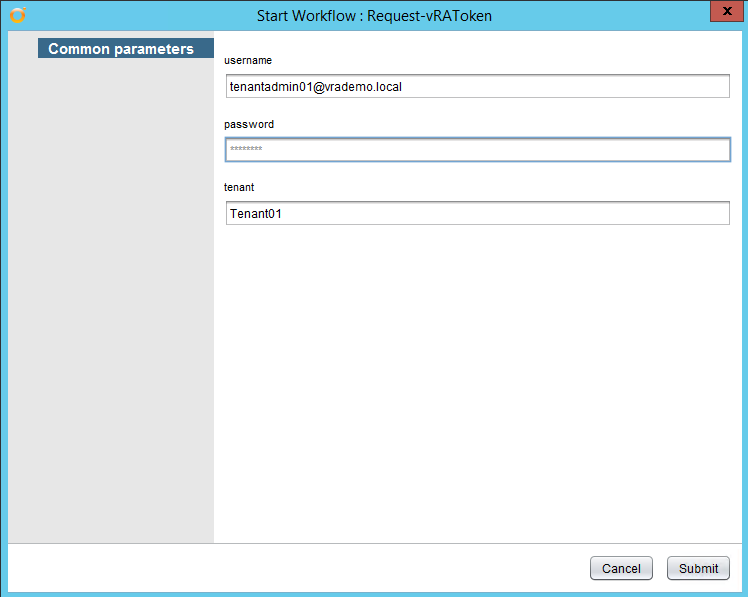
All being well, well get a successful run of the workflow and a generated token:
[2015-05-15 14:50:15.557] [I] PostText is: {“username”:“[email protected]”,“password”:“P@ssword”,“tenant”:“Tenant01”} [2015-05-15 14:50:15.609] [I] Request: DynamicWrapper (Instance) : [RESTRequest]-[class com.vmware.o11n.plugin.rest.Request] – VALUE : com.vmware.o11n.plugin.rest.Request@5a6a4f92 [2015-05-15 14:50:15.609] [I] Request URL: https://vraap01.vrademo.local/identity/api/tokens [2015-05-15 14:50:16.030] [I] Response: DynamicWrapper (Instance) : [RESTResponse]-[class com.vmware.o11n.plugin.rest.Response] – VALUE : com.vmware.o11n.plugin.rest.Response@6f24ef91 [2015-05-15 14:50:16.031] [I] Status code: 200 [2015-05-15 14:50:16.031] [I] Content as string: {“expires”:“2015-05-16T13:51:55.456Z”,“id”:“MTQzMTY5NzkxNTQ1NDowMGZiNWUyMmNlZjI2ZTI1MTAzYTp0ZW5hbnQ6VGVuYW50MDF1c2VybmFtZTp0ZW5hbnRhZG1pbjAxQHZyYWRlbW8ubG9jYWw6ODVmZDE4MGM2ZTkzZjBkOGRlMzk3MzhkNTQ0NWRlNTU2YjI0ZjFmZmI2OThlNmZjZjI2ZDExZThhNjI0MzY5YzBmMTUzY2Q4M2QwY2JhMjE0ZmRlYjYzNzJjZWEzNTY2YzAzNDFhZGJjOTdkMmI3ZGVmMTY0NjY1OGM2MjE4NmE=”,“tenant”:“Tenant01”} [2015-05-15 14:50:16.113] [I] Token is: MTQzMTY5NzkxNTQ1NDowMGZiNWUyMmNlZjI2ZTI1MTAzYTp0ZW5hbnQ6VGVuYW50MDF1c2VybmFtZTp0ZW5hbnRhZG1pbjAxQHZyYWRlbW8ubG9jYWw6ODVmZDE4MGM2ZTkzZjBkOGRlMzk3MzhkNTQ0NWRlNTU2YjI0ZjFmZmI2OThlNmZjZjI2ZDExZThhNjI0MzY5YzBmMTUzY2Q4M2QwY2JhMjE0ZmRlYjYzNzJjZWEzNTY2YzAzNDFhZGJjOTdkMmI3ZGVmMTY0NjY1OGM2MjE4NmE=
Using the Authentication Token in other API Requests
Now that we have a mechanism for generating a token, let’s look at an example using the token. The vRA API details a GET request for retrieving all custom groups and SSO groups that correspond to a specified search criteria. For a simple example we can run a GET request against the URL /identity/api/tenants/{tenantId}/groups using tenantId as a parameter.
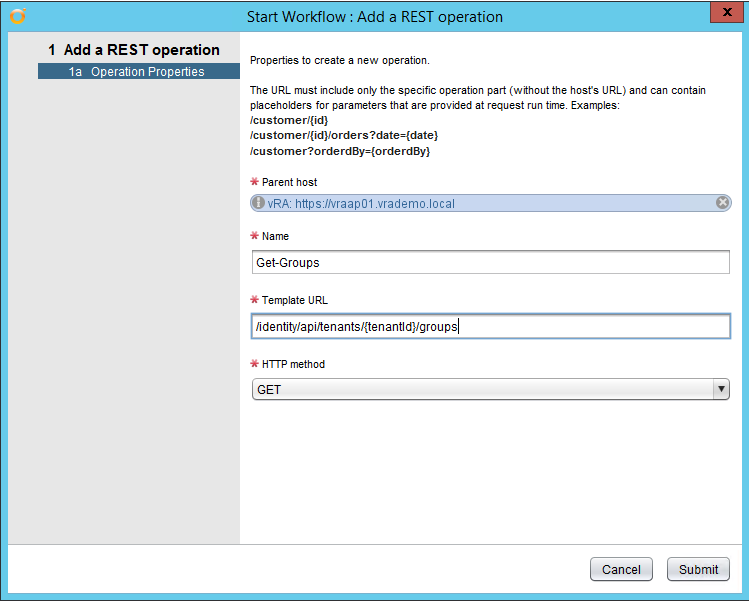
Firstly we need a REST operation for that URL. Run the Add a REST operation workflow to create an operation Get-Groups:
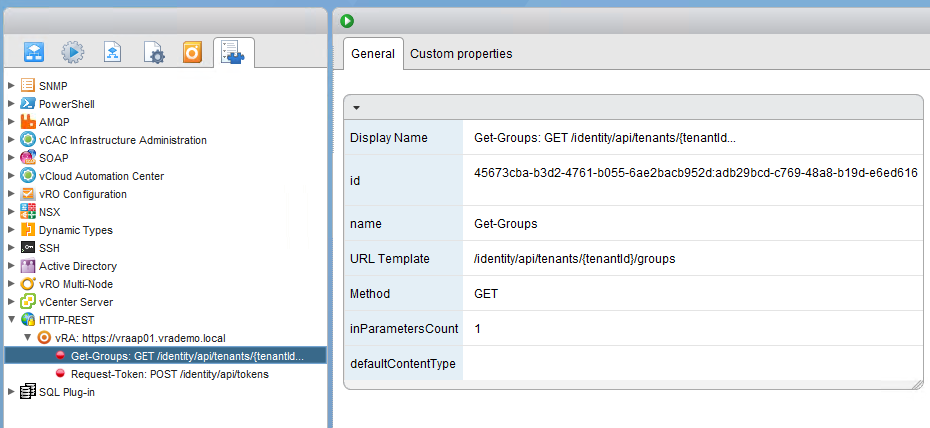
We now have an additional operation available:
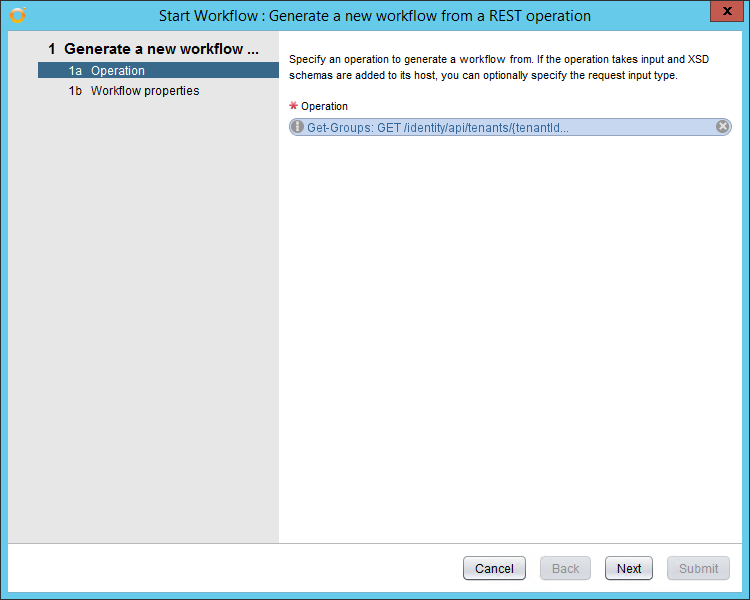
We need a workflow for it, so run the Generate a new workflow from a REST operation workflow:
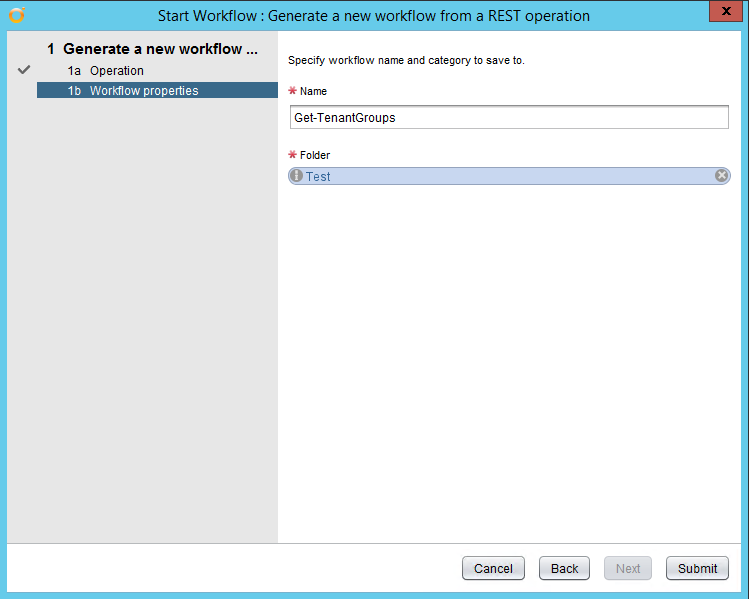
Give it a name Get-TenantGroups and again put it in the Test folder:
We need to modify this workflow to use the same Accept header added previously and also the authentication token. Add an extra input:
- token - String
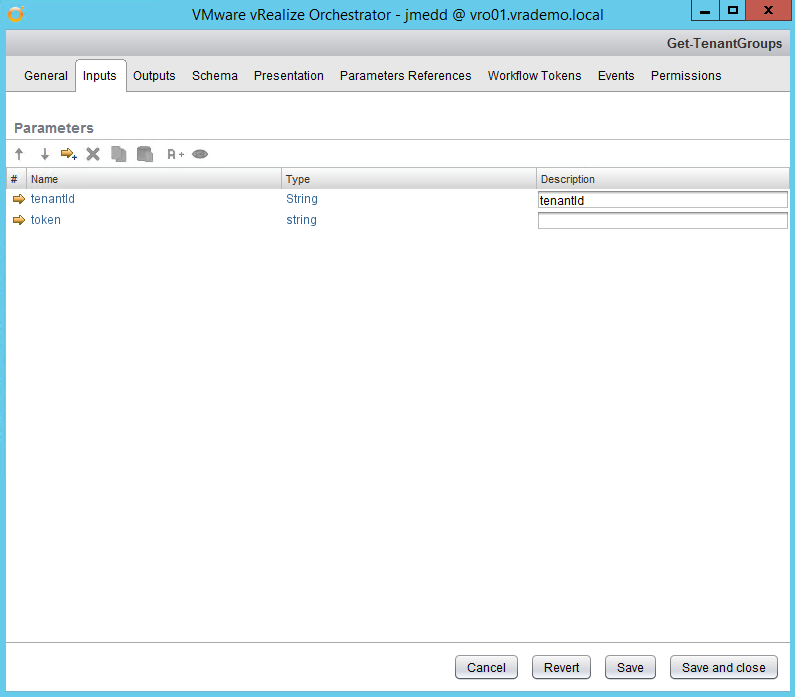
Add the token parameter as an input to the existing scriptable task:
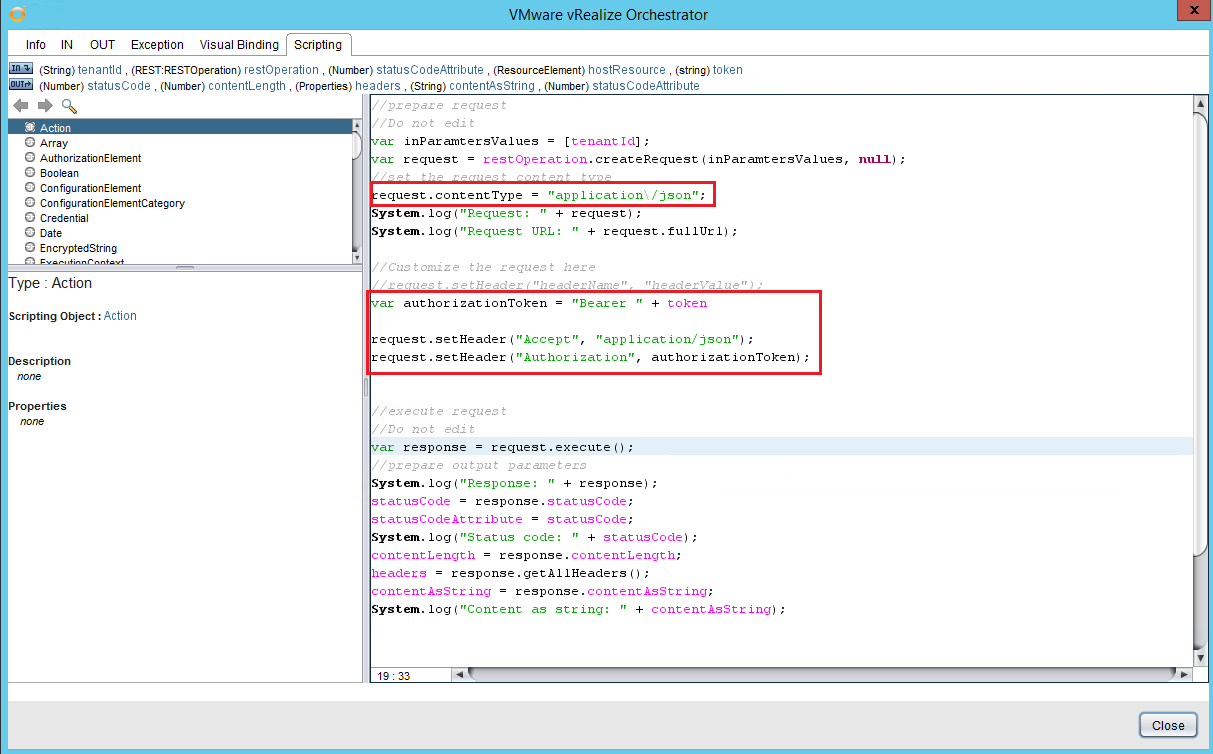
Modify that scriptable task and set the contentType to application / json:
[code language=“javascript”]
request.contentType = “application\/json”;
[/code]
Then add the following code for the Accept and Authorization headers:
[code language=“javascript”]
var authorizationToken = “Bearer " + token
request.setHeader(“Accept”, “application/json”); request.setHeader(“Authorization”, authorizationToken);
[/code]
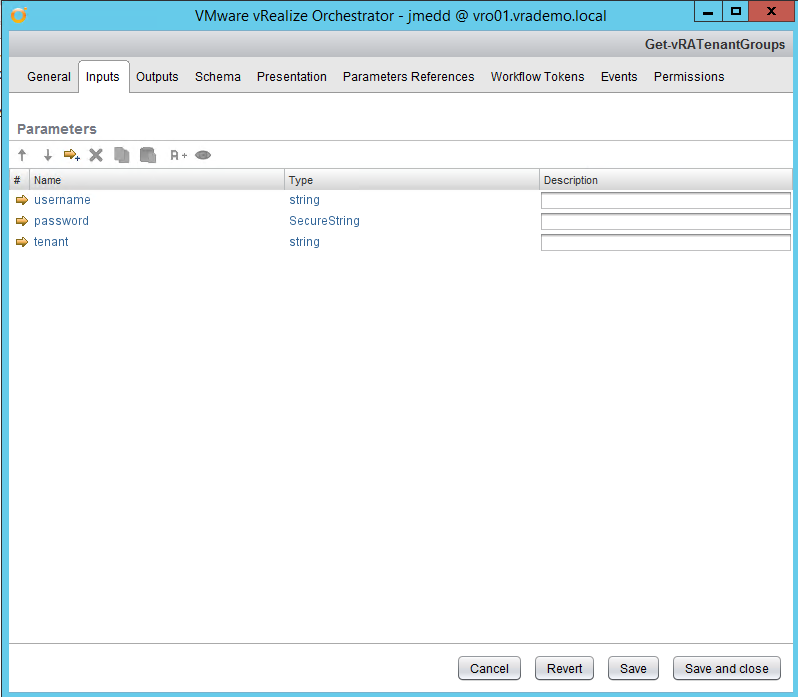
Save and close the workflow changes. Now we can create a workflow Get-vRATenantGroups to put all of the component pieces in place:
Create inputs for username, password and tenant - for future use outside of this example, you might want to think about storing these as vRO Configuration Items instead.
- username - String
- password - SecureString
- tenant - String
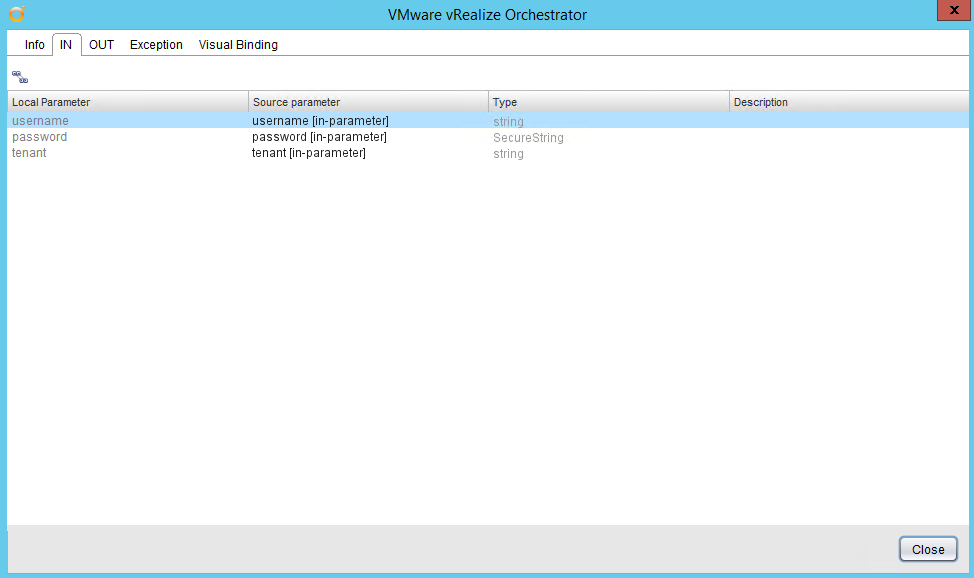
In the schema add the Request-vRAToken workflow. Set inputs to match the input parameters:
Set the token output to be an attribute token in this workflow:
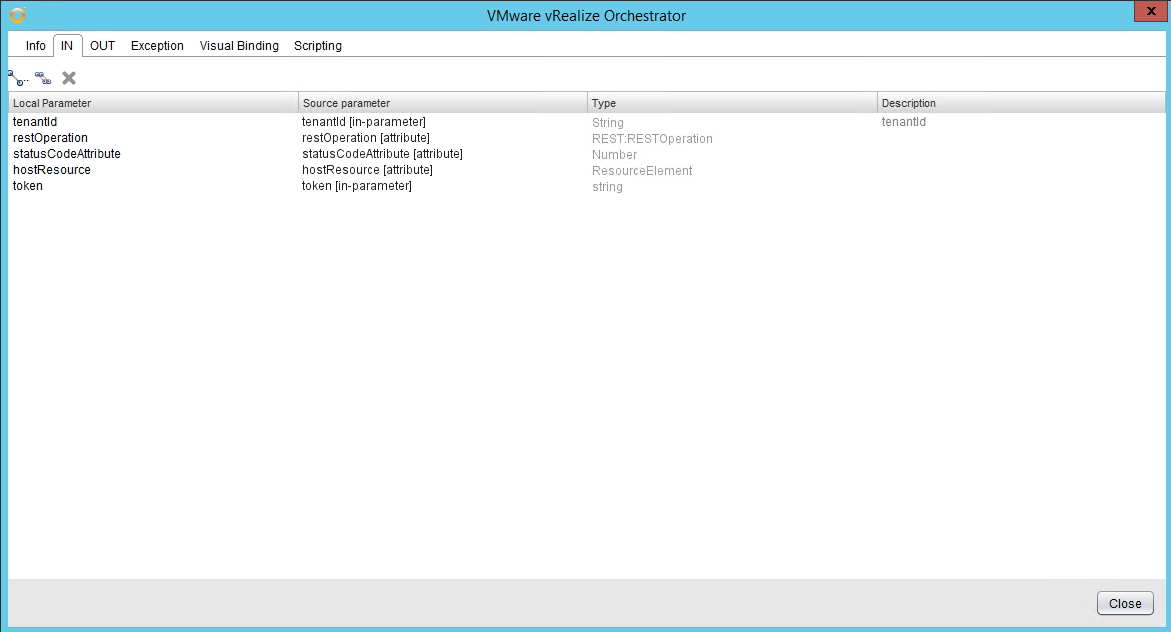
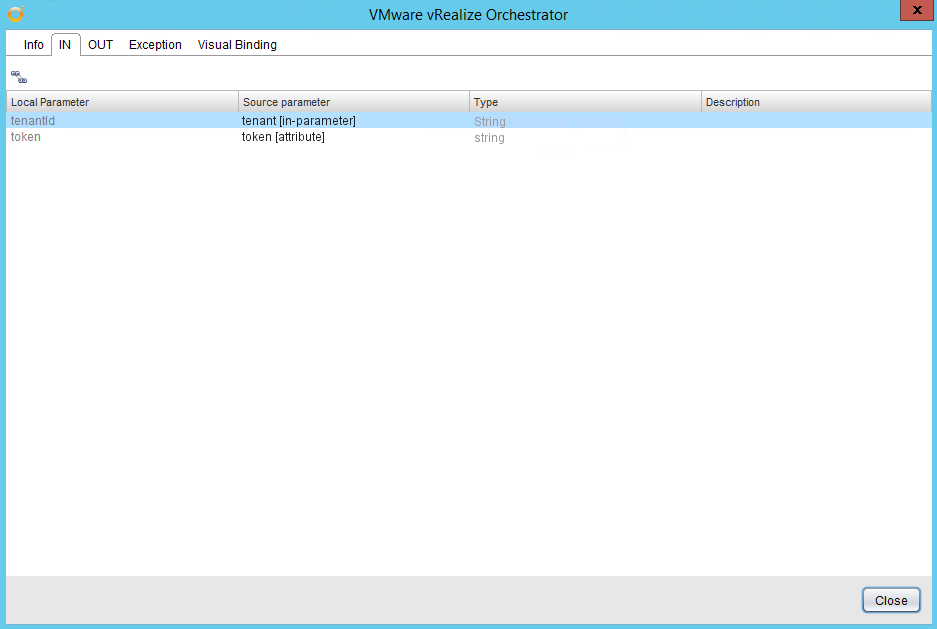
Close the tab. Add the Get-TenantGroups workflow to the schema. Set the inputs to be the tenant parameter and the token attribute:
Set the outputs to be the standard REST attribute outputs:
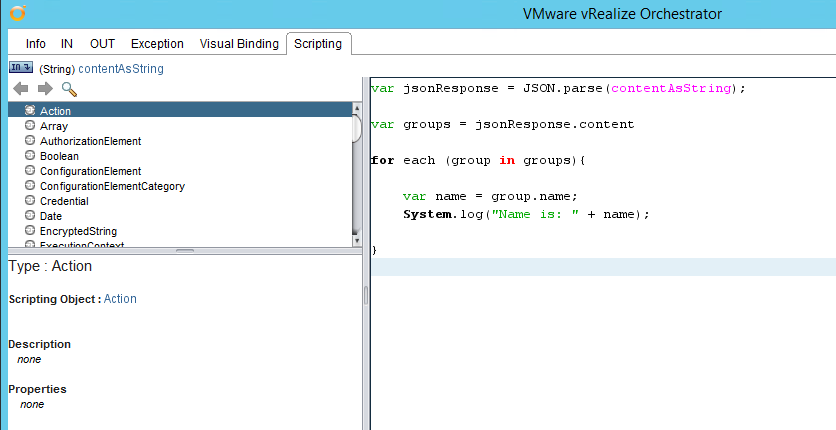
Close the tab. Finally, add a scriptable task to parse the results of the JSON response. For this example we will just output the names of the groups. For the inputs select contentAsString:
On the Scripting tab add the following code:
[code language=“javascript”]
var jsonResponse = JSON.parse(contentAsString);
var groups = jsonResponse.content
for each (group in groups){
var name = group.name; System.log(“Name is: " + name);
}
[/code]
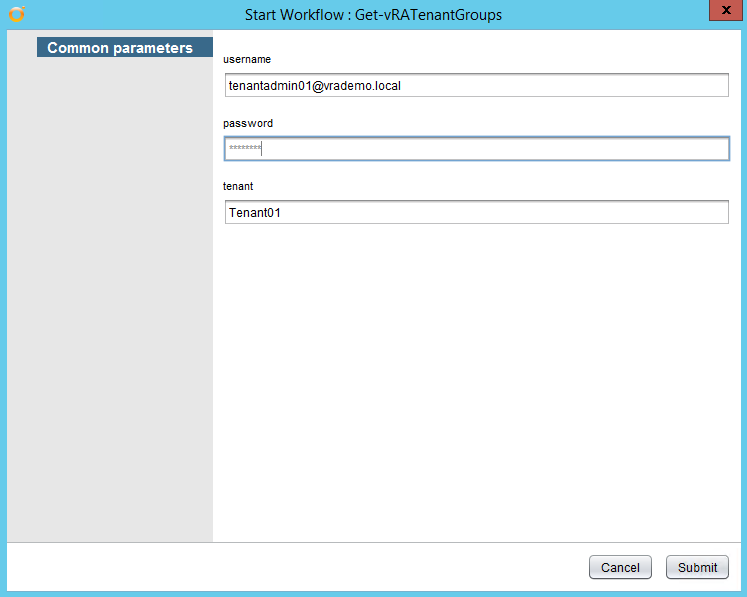
Save and close the workflow. Then run it with suitable parameters:
A successful workflow run will see something similar output to the logs:
[2015-05-15 16:35:54.485] [I] Name is: ExternalIDPUsers [2015-05-15 16:35:54.485] [I] Name is: ActAsUsers [2015-05-15 16:35:54.485] [I] Name is: SolutionUsers [2015-05-15 16:35:54.486] [I] Name is: TenantAdmins01 [2015-05-15 16:35:54.486] [I] Name is: Users [2015-05-15 16:35:54.486] [I] Name is: Tenant01_Approvers [2015-05-15 16:35:54.486] [I] Name is: Administrators [2015-05-15 16:35:54.486] [I] Name is: TenantUsers01 [2015-05-15 16:35:54.486] [I] Name is: TestCustom01 [2015-05-15 16:35:54.486] [I] Name is: TestCustom03 [2015-05-15 16:35:54.486] [I] Name is: TestCustom02 [2015-05-15 16:35:54.486] [I] Name is: TenantInfraAdmins01